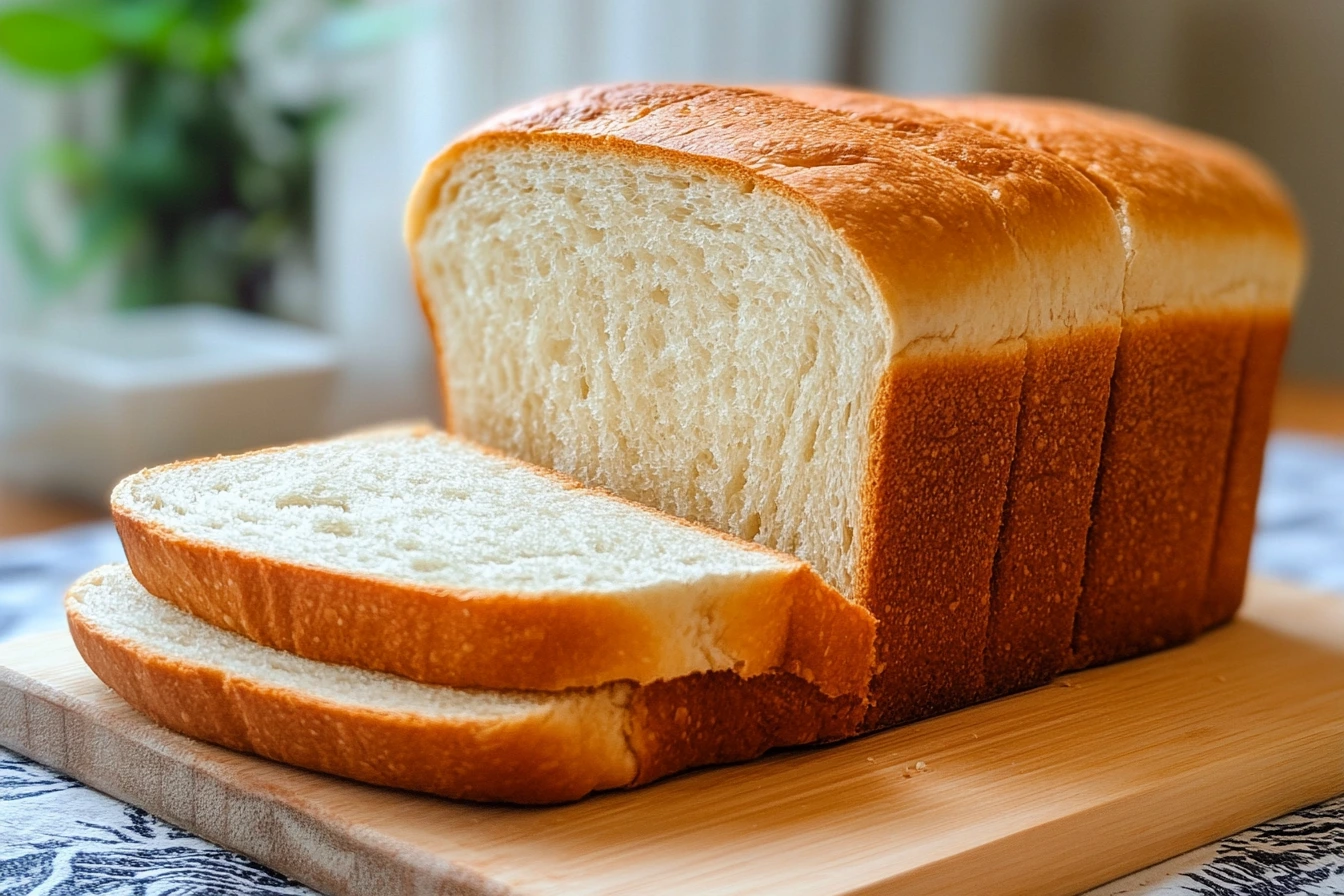
Introduction to Sourdough Sandwich Bread
Sourdough bread is a timeless staple, cherished for its tangy flavor, chewy texture, and natural fermentation process. Unlike conventional bread that relies on commercial yeast, sourdough uses a natural leavening agent called a starter. This starter—a mixture of flour and water—houses wild yeast and bacteria, creating a unique sourdough profile. But how does this translate to sandwich bread? Well, sourdough sandwich bread offers the perfect balance: a traditional loaf’s soft, sliceable structure and sourdough’s complex, earthy flavor.
Table of Contents
The Benefits of Using Sourdough in Sandwich Recipes
Why choose sourdough for your sandwiches? First, the fermentation process makes the bread easier to digest by breaking down gluten and phytic acid, making nutrients more accessible. It also has a lower glycemic index compared to regular bread, which can support better blood sugar control. Additionally, sourdough’s distinctive texture holds fillings well, preventing sogginess while enhancing the overall taste. Truly, it’s the best of both worlds: health benefits and unbeatable taste.
Getting Started: The Sourdough Starter
How to Create and Maintain a Healthy Starter

A sourdough starter is the heart and soul of your bread. This living mixture of flour and water teems with wild yeast and beneficial bacteria, providing natural leavening and Creating one from scratch is surprisingly simple, yet it requires patience. Start by combining equal parts of flour (whole wheat is a great choice for its nutrient density) and water in a clean jar. Cover loosely and let it sit at room temperature.
Feed your starter with fresh flour and water daily, discarding half of the old mixture to maintain balance. Within 5–7 days, you’ll notice a bubbly, tangy-smelling concoction ready to leaven your dough. Keep the starter healthy by feeding it regularly—even weekly if stored in the fridge. Need detailed instructions? Check out King Arthur Baking’s guide to sourdough starter maintenance.
Common Issues with Starters and How to Fix Them
Oh no, is your starter not rising? Don’t fret! Several common issues have easy fixes:
- Lack of bubbles: Ensure your starter stays warm (around 70–75°F is ideal) and feed it consistently. Cold temperatures can stall fermentation.
- Runny or too thick texture: Adjust the flour-to-water ratio. Aim for a pancake batter-like consistency for accuracy.
- Unpleasant odor: A mild tang is normal, but if it smells like acetone, it’s hungry! Feed it more frequently.
Essential Ingredients for Sourdough Sandwich Bread Recipes
Choosing the Right Flour for Sandwich Bread
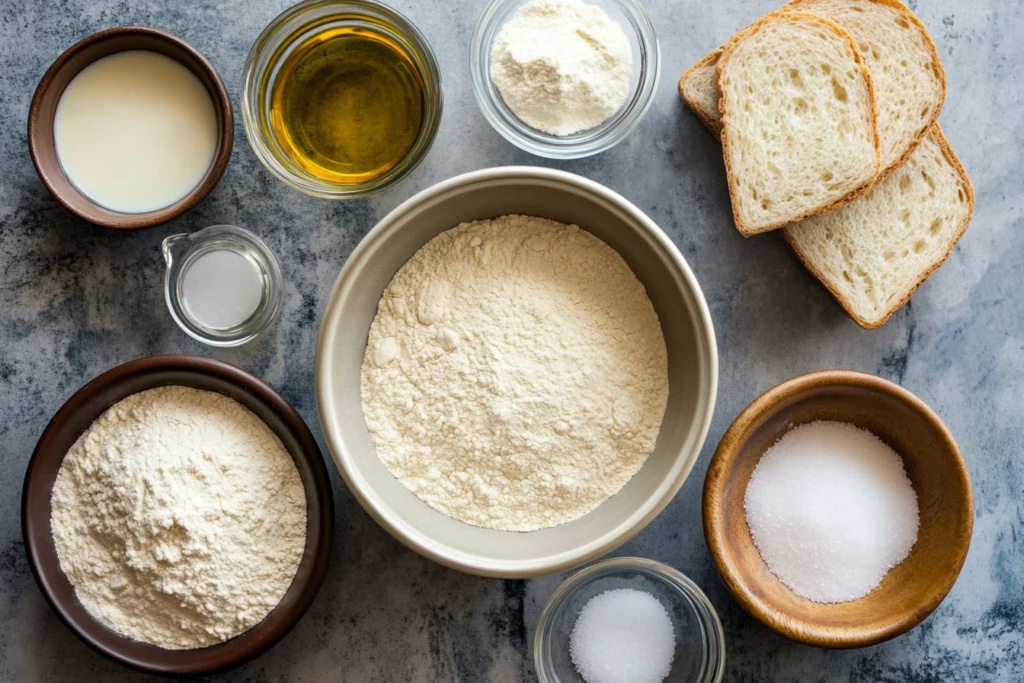
Choosing the right flour is pivotal in crafting the perfect sourdough sandwich bread. The type of flour you use affects the bread’s crumb structure, flavor, and softness. Bread flour, with its higher protein content, is ideal for achieving a soft yet sturdy loaf that holds its shape. Whole wheat flour adds a nutty, earthy flavor that boosts your bread’s nutritional profile. However, too much can make the bread dense, so mixing it with bread or all-purpose flour is best.
For those who love to experiment, rye flour can add a delightful complexity to your sourdough, while ancient grains like spelled or einkorn can bring a unique depth and chewiness. Playing with different flour blends can lead to exciting variations, allowing you to unleash your creativity in bread-making. Just remember to consider the hydration needs of different flours, as whole-grain flours tend to absorb more water.
How Water, Salt, and Add-ins Affect Your Dough
Water isn’t just a liquid—it’s the medium that activates gluten development and fermentation. Use filtered or distilled water to avoid chlorine, which can harm your starter. Salt, on the other hand, is more than just a flavor enhancer. It also regulates fermentation by slowing down yeast activity, allowing flavors to deepen. This is why it’s important to add salt at the right time in the bread-making process, as it can affect the rise and flavor of your bread.
Optional additives like honey or olive oil can add a touch of softness and sweetness to your sourdough sandwich bread. For those who prefer savories, seeds or herbs can elevate the loaf’s profile. However, it’s crucial to balance the quantity of these additives, as too much can interfere with the rise of the bread. Mastering this balance is key to achieving the perfect harmony of texture and flavor, giving you a sense of control and confidence in your bread-making.
Step-by-Step Sourdough Sandwich Bread Recipe
Mixing and Autolyse
Mix your sourdough starter, water, and flour in a large bowl. This step, called the autolyze, allows the flour to hydrate fully, kickstarting gluten development. Let the mixture rest for 20–40 minutes before adding salt. The result? A dough that’s easier to knead and more elastic.
Techniques for Kneading and Gluten Development
Kneading is where the magic of gluten takes shape. Stretching and folding the dough until it’s smooth and slightly tacky is crucial. If kneading by hand, aim for about 10–15 minutes. Alternatively, a stand mixer with a dough hook can save time. Keep an eye on the dough’s texture—it should hold its shape but feel pliable.
Bulk Fermentation and Stretch & Fold Techniques

The bulk fermentation stage allows the dough to rise and develop flavor. During this time, perform stretch-and-folds every 30–45 minutes. This technique is important because it strengthens the dough without over-kneading, building the structure for sandwich bread. Each time you perform a stretch-and-fold, you’re aligning the gluten strands in the dough, which helps to create a better structure and texture in your bread.
Shaping the Dough for Sandwich Loaves
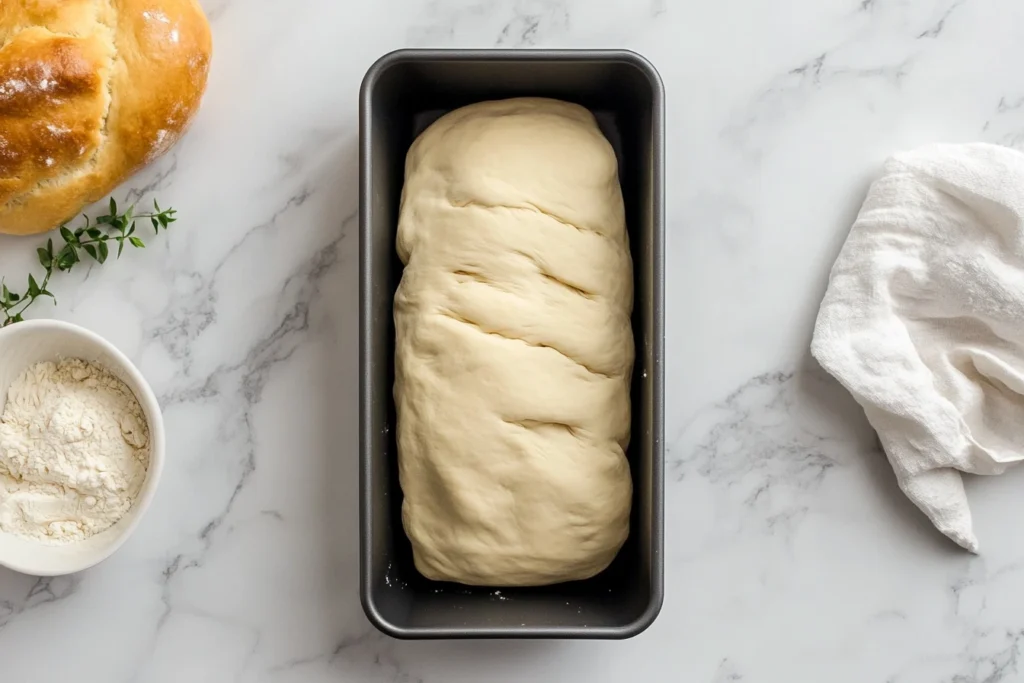
After bulk fermentation, it’s time to shape the dough. Gently flatten it into a rectangle, then roll it tightly like a jelly. This shaping technique helps create an even crumb that is ideal for sandwiches. Place the shaped dough into a greased loaf pan, seam side down, ensuring the dough fills the pan evenly.
Final Proofing: Timing and Indicators
The final proofing stage is where your patience pays off. Let the shaped dough rise until it’s about 1 inch above the edge of the loaf pan. It takes 1–2 hours, depending on room temperature. To check readiness, gently press the dough with your finger—if it springs back slowly, it’s proofed perfectly.
Baking: Temperature and Techniques for a Soft Crust
Preheat your oven to 375°F (190°C). Bake the loaf for 30–40 minutes, ensuring even heat distribution. To achieve a soft crust, lightly brush the loaf with melted butter immediately after baking. Cool the bread on a wire rack before slicing it to preserve its structure.
Variations of Sourdough Sandwich Bread
Making Whole Wheat and Multigrain Sandwich Bread
Add whole wheat or multigrain flour to your sourdough sandwich bread for a healthier twist. Whole wheat adds fiber and nutrients, while multigrain blends introduce diverse textures and flavors. When making these variations, balance is key: too much whole-grain flour can result in dense bread. A good starting point is substituting 25–50% of bread flour with whole wheat or a multigrain mix.
Allow the dough to rest longer during autolyzing to enhance hydration and improve elasticity. Adding a touch of honey or olive oil can further soften the texture without overshadowing the bread’s natural sourdough flavor.
Incorporating Seeds, Nuts, and Other Add-ins
Add-ins like seeds, nuts, and dried fruits can transform your sourdough sandwich bread into something truly special. Popular choices include sunflower seeds, flaxseeds, walnuts, or dried cranberries. These ingredients boost the bread’s nutritional value and add exciting textures and flavors.
When incorporating add-ins, fold them into the dough during the bulk fermentation stage’s first or second stretch-and-fold session. It ensures even distribution without disrupting the dough’s structure. Keep the quantity moderate—around 10–15% of the total flour weight—to maintain a balanced loaf.
For a dessert-like variation, try chocolate sourdough bread, blending sweet and tangy flavors
Troubleshooting Sourdough Sandwich Bread
How to Fix Dense or Gummy Sourdough Bread
A dense or gummy loaf is a common frustration among sourdough bakers, but it’s often solvable. Here’s what to check:
- Underproofing: If the dough hasn’t risen enough, it may lack the airiness needed for a light crumb. Allow more time during the bulk fermentation or final proof.
- Low hydration: If the dough is too dry, it won’t expand properly. Adjust your water-to-flour ratio to ensure adequate hydration.
- Poor gluten development: Kneading thoroughly or performing sufficient stretch-and-folds can improve dough elasticity and rise significantly.
By carefully observing these aspects, your bread will rise to new heights—literally!
Dealing with Overproofed or Underproofed Dough
Overproofed dough can collapse during baking, leading to a flat loaf, while underproofed dough lacks the necessary rise and structure. To avoid these issues:
- Use the poke test during final proofing. Lightly press the dough with a finger—if it springs back slowly, it’s ready for the oven. If it springs back too quickly, it needs more time.
- Track fermentation times based on ambient temperature. Warmer environments speed up proofing, so adjust accordingly.
Storing and Preserving Sourdough Sandwich Bread
Best Practices for Freshness
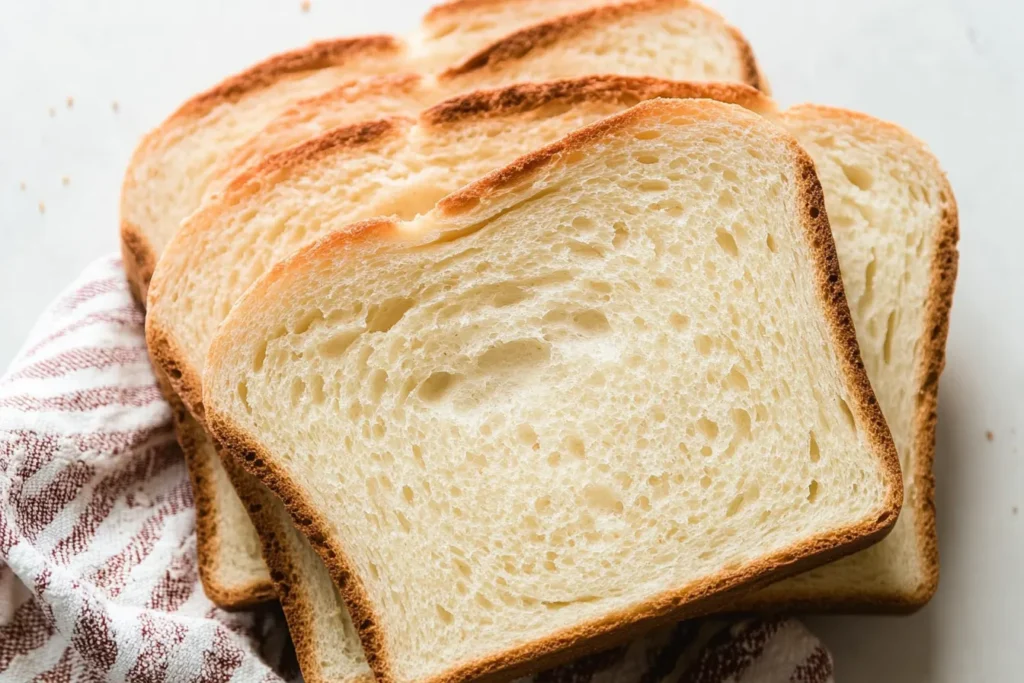
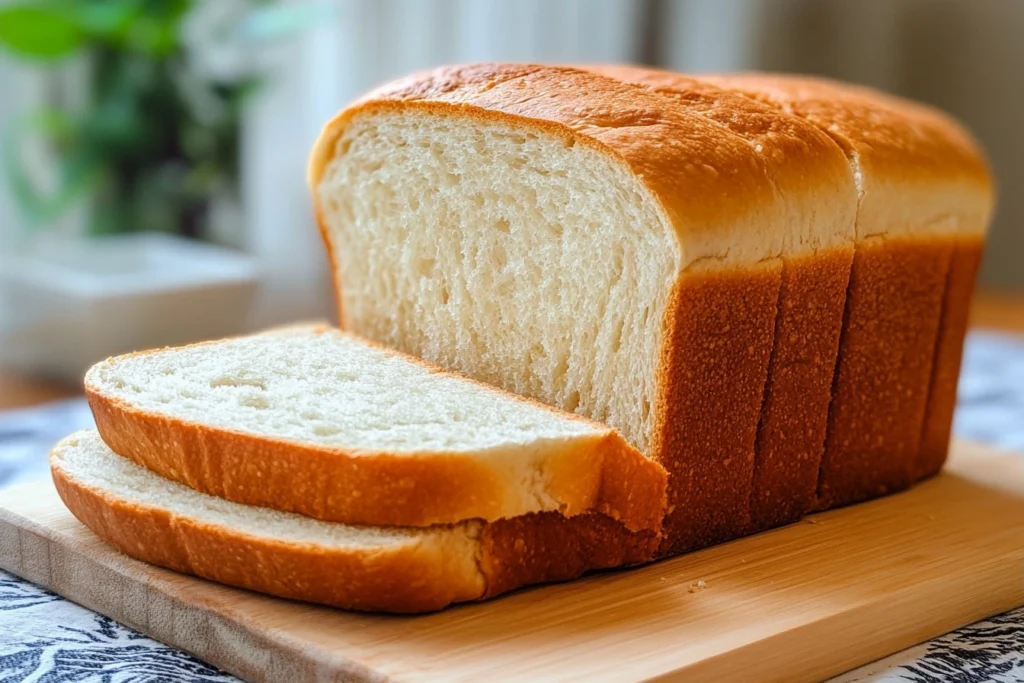
Keeping your sourdough sandwich bread fresh is essential to enjoy its soft texture and rich flavor as long as possible. Letting the bread cool completely after baking, as residual heat can cause moisture buildup and sogginess. Once cooled, store the loaf in a bread box or a cotton bread bag. These options provide adequate air circulation to prevent mold while maintaining the bread’s natural moisture.
Avoid refrigerating sourdough bread—it may seem like a good idea, but it dries the loaf out faster. Instead, opt for room-temperature storage for up to three days, ensuring you slice as needed to retain freshness.
Freezing and Reviving Sourdough Bread Like a Pro
For longer storage, freezing is an excellent option. Slice the bread beforehand and place it in an airtight freezer bag or container. An easy way to to retrieve just the slices you need without thawing the entire loaf.
Let the slices thaw at room temperature to revive frozen sourdough bread or toast them directly from frozen. Wrap whole loaves in foil and warm them in a low-temperature oven to restore that fresh-baked texture and flavor techniques to ensure your sourdough sandwich bread is as delightful on day ten as on day one.
Creative Uses for Sourdough Sandwich Bread


Elevating Sandwiches with Sourdough Bread
Sourdough sandwich bread is a blank canvas for culinary creativity. Its hearty structure and nuanced flavor are beautiful with a variety of fillings. Try classic combinations like turkey and avocado, or go gourmet with smoked salmon and herbed cream cheese. For a vegetarian twist, layer roasted vegetables, hummus, and feta for a Mediterranean-inspired delight.
Grilled sandwiches shine with sourdough bread—its crisp crust and tender crumb create a perfect texture. For a delectable bite, experiment with melty fillings like cheddar, apple, mozzarella, and basil.
Making Croutons, Pudding, and More from Leftovers
Got leftover slices? Don’t let them go to waste! Turn stale bread into crispy croutons for salads or soups by cubing it, tossing it with olive oil, seasonings, and even small bits of Italian deli meats for added flavor, and baking until golden. Alternatively, transform it into a sweet bread pudding or a savory strata for brunch.
Other ideas include grinding dried bread into breadcrumbs or using it as a base for French toast. These simple recipes highlight sourdough’s versatility while ensuring every crumb is used well.
Frequently Asked Questions About Sourdough Sandwich Bread
What makes sourdough sandwich bread different from regular sourdough?
Sourdough sandwich bread is specifically crafted for a softer texture and a more uniform crumb than artisanal sourdough loaves. While traditional sourdough often features a chewy crust and open crumb, sandwich bread aims for a sliceable, tender structure perfect for holding fillings.
Can I use all-purpose flour instead of bread flour?
Absolutely! All-purpose flour works well for sourdough, though the bread may have slightly less chew and structure due to its lower protein content. You can combine all-purpose flour with a small percentage of bread flour to boost gluten development for the best results.
How can I make my sourdough sandwich bread softer?
Add a bit of fat, like butter or olive oil, to your dough to achieve an ultra-soft loaf. These ingredients tenderize the crumb. Another trick is to use milk or milk alternatives instead of water for a softer texture and mild sweetness.
Why is my sourdough sandwich bread dense?
Dense bread can result from underproofing, insufficient kneading, or low hydration. Ensure your dough has adequate fermentation time and fully develops the gluten during kneading. Adjusting your water-to-flour ratio can also improve the bread’s lightness.
How do I know when my dough is properly proofed?
The poke test is a reliable method. Press the dough with your finger—if it springs back slowly, it’s ready for the oven. If it springs back too quickly, it needs more time. Overproofed dough, on the other hand, won’t spring back at all.
Can I add sweeteners like honey to my sourdough sandwich bread?
Yes, you can! Adding honey, maple syrup, or even sugar enhances the flavor and sweetness of the bread. Just moderate the quantity to avoid altering the dough’s hydration or fermentation.
Conclusion
Sourdough sandwich bread is more than just a recipe—it’s a delightful fusion of tradition, flavor nutrition. By mastering the basics, experimenting with variations, and tackling common challenges, you can create loaves perfect for any occasion. From hearty sandwiches to creative leftover uses, sourdough sandwich bread is a versatile addition to your baking repertoire.
As you continue your sourdough journey, remember that every loaf tells a story of care and creativity. So, get baking and enjoy the simple pleasure of homemade bread tailored to your taste and lifestyle. Happy baking!

