Introduction to Sourdough Discard Pizza Dough
Sourdough discard pizza dough is a delightful way to create a flavorful crust while minimizing waste. If you’ve been nurturing a sourdough starter, you know that discarding some starter during feedings is inevitable. But rather than letting it go to waste, why not transform it into a base for one of the most beloved comfort foods—pizza? This article dives into the how-tos, tips, and techniques to master sourdough discard pizza dough, covering everything from ingredients to troubleshooting. Let’s begin!
Table of Contents
What is Sourdough Discard?
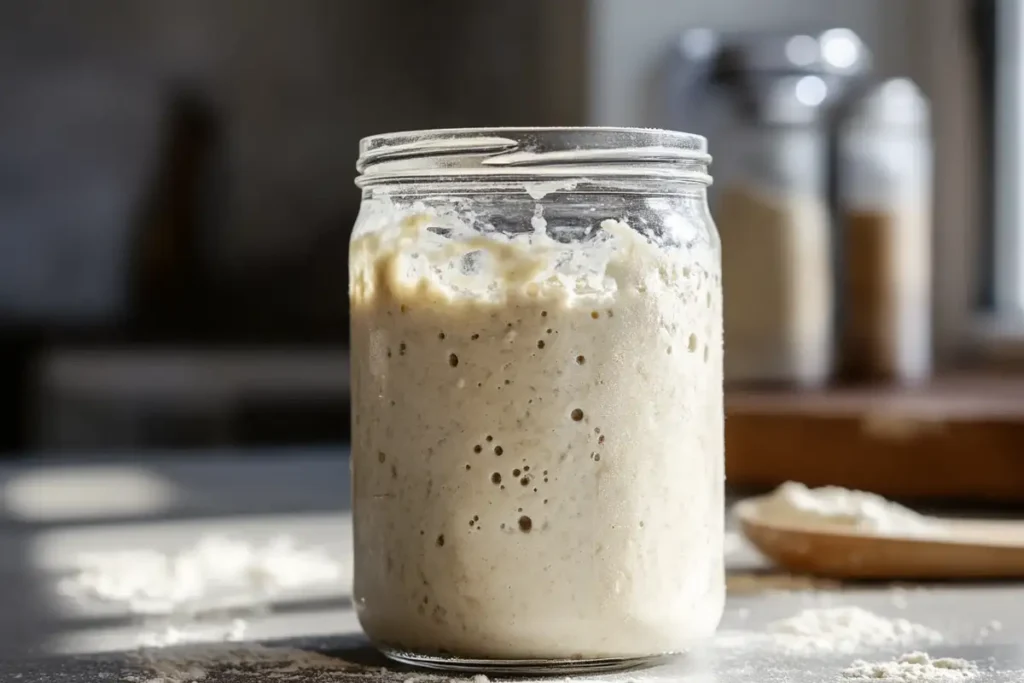
Sourdough discard is the starter portion removed during feeding to maintain the ideal balance of yeast and bacteria. It’s slightly acidic, rich in wild yeast, and perfect for enhancing baked goods like pizza dough. While many see discard as “waste,” it’s a hidden gem for those who love experimenting in the kitchen.
Benefits of Using Sourdough Discard in Pizza Dough
Adding sourdough discard to pizza dough isn’t just about reducing waste—it’s also about boosting flavor and texture. The natural fermentation process imparts a tangy, complex flavor profile to the crust, making it stand out from the regular dough. Additionally, discard contributes to a chewier and more elastic texture, ideal for shaping into thin or thick crusts.
Understanding the Ingredients
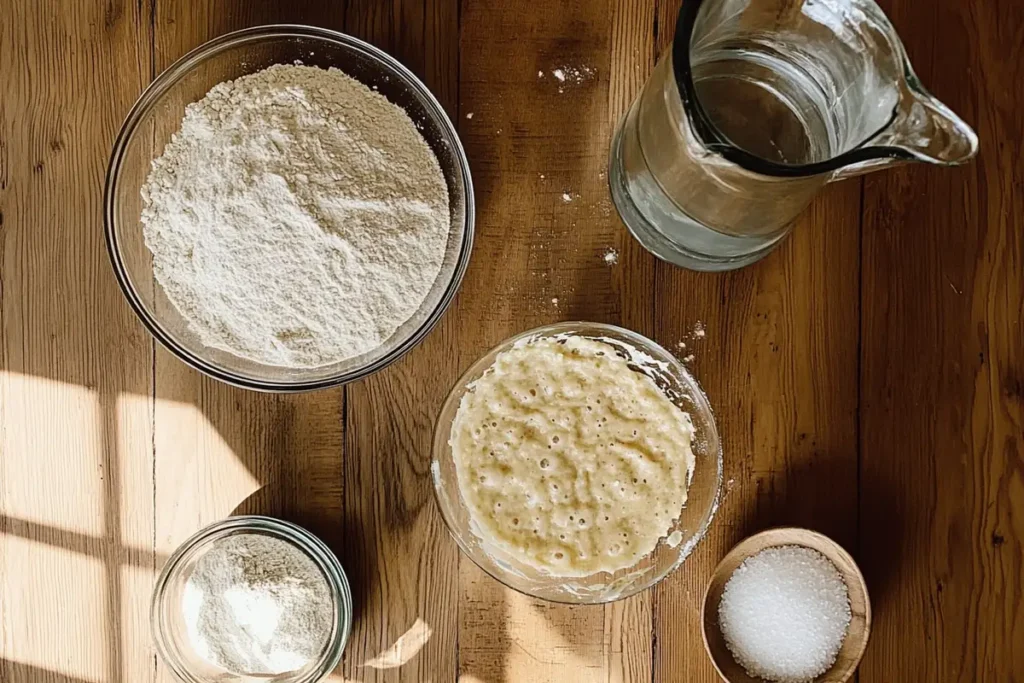
Sourdough Discard: Composition and Flavor Profile
Sourdough discard isn’t just a byproduct; it’s an ingredient with its distinct personality. It is packed with wild yeast and lactobacilli and contributes to the dough’s leavening and fermentation. Its tangy flavor develops from the acidic byproducts of the fermentation process, offering a depth that regular pizza dough can’t replicate.
Additionally, the discard acts as a flavor enhancer, adding subtle notes of sourness that complement a variety of pizza toppings. Using discard from a whole wheat or rye starter introduces nutty or earthy undertones, creating even more complexity in your crust.
Flour Selection: Bread Flour vs. All-Purpose Flour
Choosing the right flour is critical for achieving the desired pizza crust texture. With its high protein content, bread flour helps develop strong gluten networks, resulting in a chewy, elastic crust that holds up well to toppings.
Alternatively, all-purpose flour works for those who prefer a softer, more tender crust. Mixing the two can provide a balance of chewiness and softness. For adventurous bakers, incorporating a small portion of whole wheat flour can add nuttiness, while multigrain flour boosts nutritional content.
Role of Hydration: Balancing Water Content
Hydration levels determine whether your dough is manageable or challenging to handle. High hydration doughs (70-80% water to flour ratio) yield airy, crispy crusts but require more advanced handling techniques.
Start with moderate hydration (60-65%) to ensure an easier kneading process, especially if you’re new to pizza-making. The sourdough contains water, so adjust the additional liquid accordingly to avoid overly sticky dough. Striking the right balance ensures a crust that’s both crispy on the outside and tender inside.
Preparing the Sourdough Discard
Storing and Maintaining Sourdough Discard
Proper storage of sourdough discard ensures it’s always ready for recipes like pizza dough. Store it in a clean, airtight container in the refrigerator to keep it fresh for up to a week. For longer storage, discard can be frozen in small portions and thawed as needed.
Regular maintenance is key—refreshing your starter periodically will improve its quality and, therefore, the flavor and performance of your discard. Discarding from an active starter produces a slightly lighter and more elastic dough, while older discard contributes a tangier, more robust flavor.
When to Use Discard: Fresh vs. Aged
Timing matters when working with discard. Fresh discard, removed right after feeding the starter, is milder in flavor and perfect for those who prefer a subtle tang. It also contains more active yeast, which aids in fermentation and rising.
Aged discard, stored for a few days or more, delivers a stronger sourness and adds a rich, complex flavor to the crust. However, its reduced yeast activity may require supplementation with commercial yeast for optimal rise. Choose based on the flavor intensity and texture you desire in your final pizza dough.
Making the Dough
Step-by-Step Dough Preparation
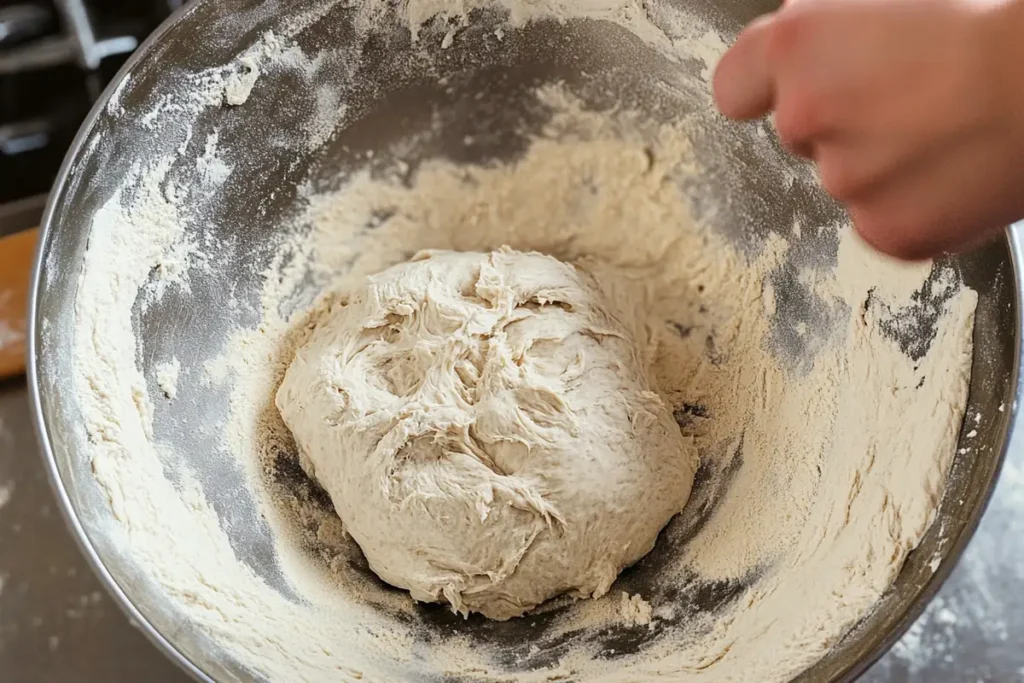
Crafting the perfect sourdough discard pizza dough starts with precision and patience. Combine your sourdough discard with flour, water, salt, and optional yeast. While sourdough discard provides natural leavening, a small pinch of yeast ensures consistent rising, especially if using aged discard.
- Mix Ingredients: In a large bowl, mix 1 cup of sourdough discard, 2 ½ cups of flour, ¾ cup of water, 1 tsp of salt, and ½ tsp of yeast if desired.
- Rest the Dough: After mixing, let the dough rest for 30 minutes. This process, known as autolyze, allows the flour to absorb water and develop gluten.
- Knead the Dough: Knead gently for 8-10 minutes until the dough becomes smooth and elastic. Alternatively, use a stand mixer with a dough hook for consistent results.
Keep the dough slightly tacky but manageable. Dusting your hands with flour or lightly oiling them helps prevent sticking.
Kneading Techniques for Optimal Gluten Development
Kneading transforms your dough from a sticky mess into a smooth, elastic ball. If you’re kneading by hand, use a folding and pressing motion, rotating the dough as you work. The “stretch and fold” technique is ideal for high-hydration doughs.
This technique involves stretching the dough outward and folding it back onto itself. Repeat this 3-4 times during the first hour of fermentation. This method strengthens the gluten without overworking the dough, which is critical for achieving that perfect chewy crust.
Fermentation: Timing and Temperature Considerations
Fermentation is where the magic happens. Allow the kneaded dough to rise in a covered bowl at room temperature for 6-8 hours or overnight in the refrigerator. The slow fermentation process enhances the flavor, developing the sour notes that make sourdough-based pizza unique.
Temperature plays a key role:
- The dough rises faster at room temperature, perfect if you’re in a hurry.
- The process slows down in the refrigerator, resulting in a deeper, more complex flavor.
Always cover the dough with plastic wrap or a damp towel to retain moisture and prevent it from drying out.
Shaping and Proofing the Dough
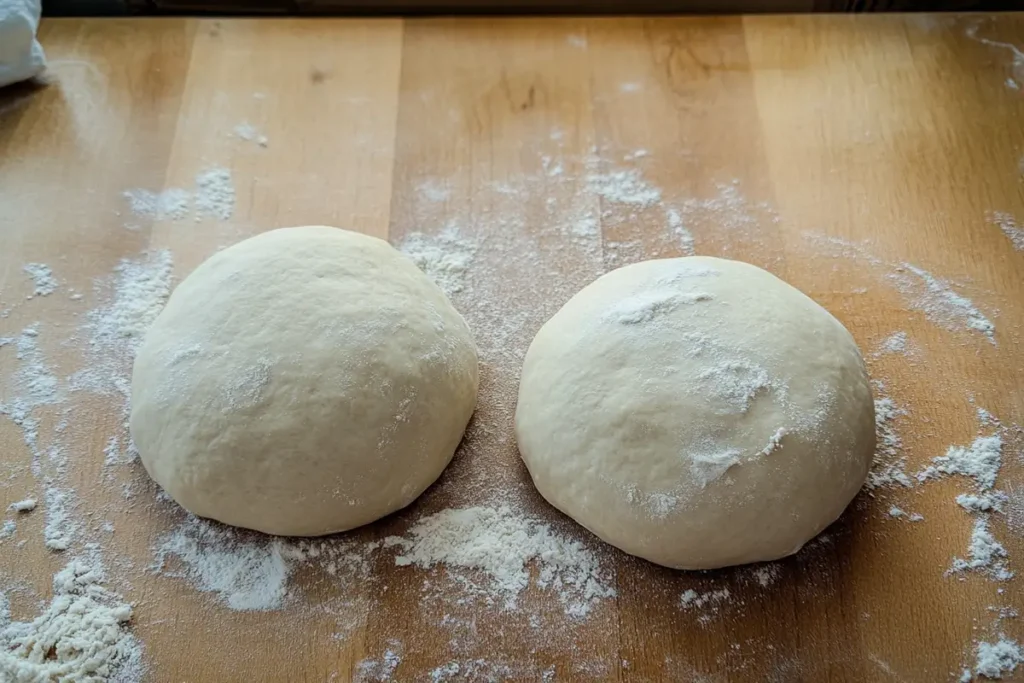
Dividing Dough into Portions
Once your dough has completed its initial fermentation, it’s time to divide it into portions. For most home ovens, dividing the dough into two equal pieces works best for creating medium-sized pizzas.
- Lightly flour your work surface and hands to prevent sticking.
- Use a bench scraper or sharp knife to cut the dough cleanly. Avoid tearing, as this can disrupt the gluten network.
- Shape each portion into a tight ball by tucking the edges underneath and pinching them together at the bottom.
Let the dough balls rest for 15-20 minutes. It will allow the gluten to relax and make it easier to shape into bases.
Techniques for Shaping Pizza Bases
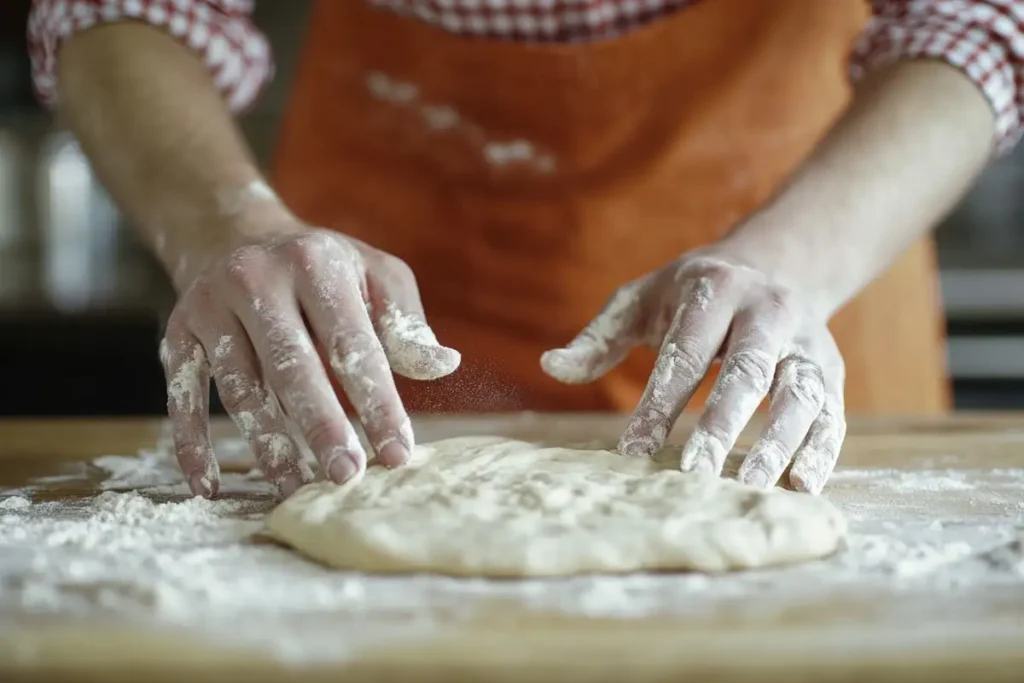
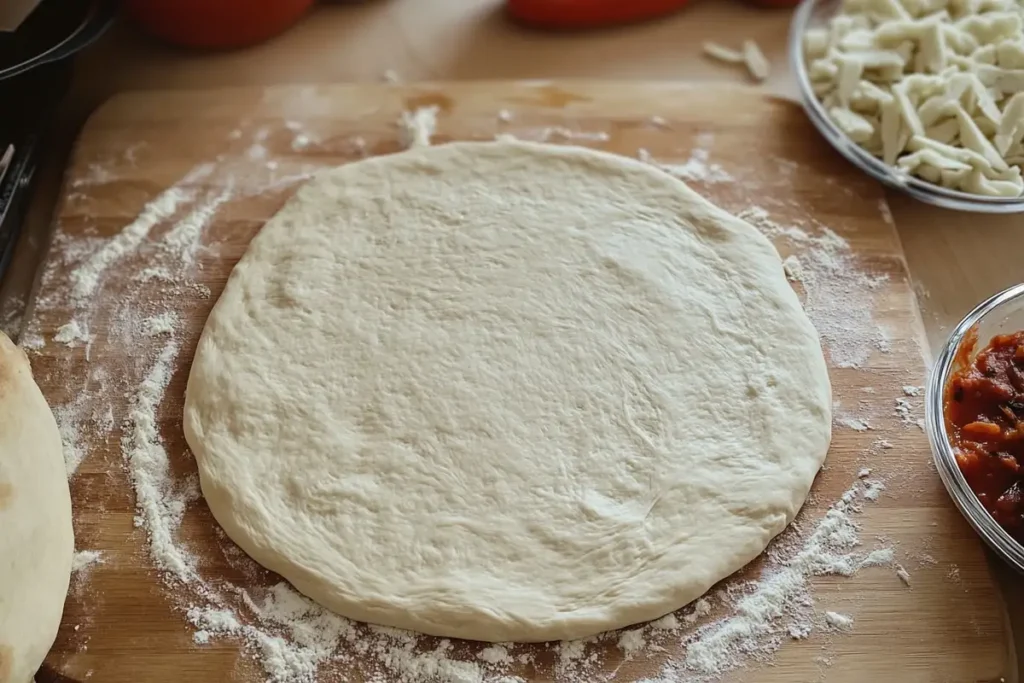
Shaping pizza dough is an art that transforms a humble ball of dough into the canvas for your toppings. Start by pressing the dough ball flat with your fingertips, working from the center outward. Leave a slightly thicker edge to form the crust.
If you’re feeling adventurous, lift the dough and let gravity stretch it further by rotating it in your hands. Place the dough on a lightly floured surface and use a rolling pin for an even stretch. However, hand-stretching is preferred to preserve the airy texture of the crust.
Proofing: Achieving the Desired Dough Rise
Before baking, proof the shaped dough for 30-60 minutes, depending on the temperature of your kitchen. This final rise relaxes the dough and creates a lighter, airier crust. Cover the shaped dough with a clean kitchen towel to prevent it from drying out.
If time permits, proofing the shaped dough on parchment paper or a pizza peel dusted with flour makes transferring to the oven seamless. Keep an eye on the dough—it should puff up slightly but remain pliable. Over-proofing can lead to a dense crust, while under-proofing may result in poor oven spring.
Baking the Pizza
Preheating the Oven and Baking Surfaces
Achieving the perfect sourdough discard pizza dough crust starts with a properly preheated oven. A scorching hot oven mimics the conditions of a professional pizza oven, ensuring a crispy exterior and chewy interior.
- Preheat the Oven: Set your oven to its maximum temperature, typically 475–500°F (245–260°C). Allow it to preheat for at least 30 minutes to ensure even heat distribution.
- Prepare the Baking Surface: For the best results, use a pizza stone, baking steel, or cast iron skillet. Place the stone or steel in the oven during preheating to ensure it’s blazing hot. Preheat a cast iron skillet on the stovetop before transferring it to the oven.
The intense heat from these surfaces guarantees a crisp, golden crust that stays tender.
Baking Methods: Pizza Stone vs. Cast Iron Skillet
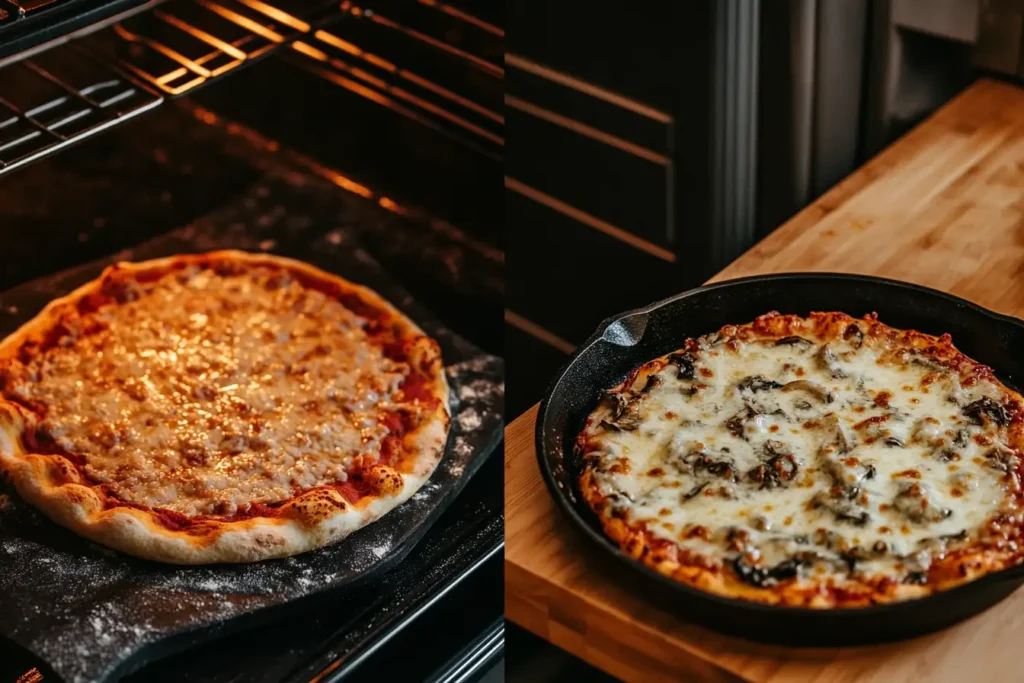
Both pizza stones and cast iron skillets have unique benefits, so your choice depends on your kitchen setup and desired results.
- Pizza Stone: This porous surface absorbs moisture, creating a crisp bottom crust. Use a pizza peel or parchment paper to slide your dough onto the hot stone.
- Cast Iron Skillet: Ideal for thicker crusts, the skillet retains heat exceptionally well, giving the crust a charred, rustic finish. Place the dough in the skillet, add toppings, and bake.
No pizza stone or skillet? No problem! A preheated baking sheet placed upside down in the oven can also deliver excellent results.
Monitoring Doneness: Crust Color and Texture
Keeping a close eye on your pizza as it bakes is crucial. Bake for 8-12 minutes, depending on your oven’s heat and the thickness of your crust.
Look for these indicators:
- A golden-brown crust with slightly darker, charred spots.
- Bubbly, melted cheese if you’re using dairy-based toppings.
- A crispy bottom when you lift the edge with a spatula.
Rotate the pizza halfway through baking to ensure even cooking, especially if your oven has hot spots. Once the pizza looks irresistible, it’s ready to serve!
Topping the Pizza
Classic Toppings: Margherita and Pepperoni
Sometimes, simplicity reigns supreme. Classic pizzas like Margherita or pepperoni highlight the beauty of the sourdough discard pizza dough crust without overpowering it.
- Margherita: Start with a thin layer of tomato sauce, add fresh mozzarella slices, and finish with basil leaves. Drizzle with olive oil before baking to enhance the flavors.
- Pepperoni: Spread a traditional tomato sauce, sprinkle shredded mozzarella, and generously layer pepperoni slices. This timeless combination never disappoints.
Creative Toppings: Seasonal Vegetables and Cheeses
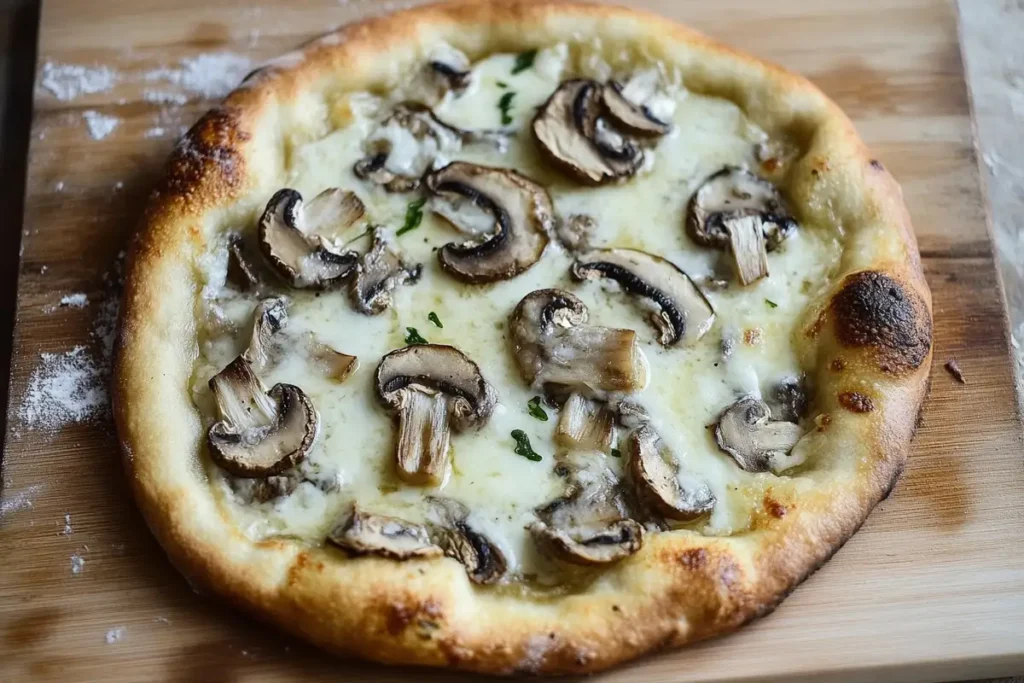
For those who enjoy pushing the boundaries of traditional pizza, experimenting with creative toppings can be a game-changer. Seasonal vegetables such as roasted squash, caramelized onions, or grilled asparagus add a unique twist. Pair them with artisanal cheeses like goat cheese, smoked gouda, or blue cheese for a burst of flavor.
After baking, sprinkling fresh herbs or microgreens elevates the presentation and adds a fresh, vibrant touch.
Balancing Flavors and Textures
The key to a memorable pizza lies in balancing flavors and textures. Combine savory, sweet, and tangy elements for a well-rounded bite. For example, pairing salty prosciutto with sweet figs and peppery arugula creates an unforgettable harmony.
Additionally, consider the textures of your toppings. Contrast creamy cheeses with crunchy vegetables or crispy crust edges for a more dynamic eating experience. Just remember: less is often more. Overloading the pizza with too many toppings can weigh down the crust and overwhelm the palate.
Serving and Enjoying
Slicing Techniques for Different Crust Types
After all the effort of preparing and baking your sourdough, discard the pizza dough. It’s time to serve it up in style! How you slice your pizza depends on the crust’s thickness and the number of toppings.
- Thin-crust pizza: Use a sharp pizza wheel or a chef’s knife to make clean cuts without dragging the toppings. Slice into 6-8 triangular pieces for easy handling.
- Thick-crust or Pan Pizza: Choose a sturdy rocking pizza cutter or a mezzaluna. For denser crusts, square or rectangular slices work well, especially for sharing.
Remember to let the pizza rest for 1-2 minutes before slicing. It prevents the toppings and cheese from sliding off, ensuring a picture-perfect slice every time.
Pairing Pizzas with Beverages
The right beverage pairing can take your pizza night to the next level. Here are a few combinations that complement the tangy and complex flavors of sourdough discard crusts:
- Classic Pizzas (e.g., Margherita): Pair with a crisp, light lager or a bright, acidic red wine like Chianti.
- Savory-Meaty Pizzas (e.g., Pepperoni or Sausage): Choose a full-bodied beer like an amber ale or a robust red wine like Zinfandel.
- Vegetarian or Creative Pizzas: Enhance the freshness with sparkling water, citrus-infused cocktails, or a chilled white wine like Sauvignon Blanc.
Troubleshooting Common Issues
Dealing with Sticky or Dry Dough
Sometimes, your sourdough discard pizza dough might not feel quite right during preparation, but small adjustments can fix most issues:
- Sticky Dough: Sticky dough is often caused by too much water or insufficient gluten development. To fix this:
- Dust your hands and work surface with a small amount of flour, but avoid over-flouring, as it can make the dough tough.
- Use the stretch-and-fold technique to build strength and reduce stickiness over time.
- Dry Dough: If your dough feels too dry or crumbly:
- Add small amounts of water (1 tsp at a time) and knead gently to incorporate.
- Ensure the dough is covered during resting periods to prevent drying out.
Addressing Insufficient Rise
A poor rise is often due to weak yeast activity or improper fermentation conditions. Here’s how to address it:
- Ensure your sourdough discard is active, or add a pinch of commercial yeast for a boost.
- Check your proofing temperature—aim for a warm environment of around 75-85°F (24-29°C). If your kitchen is cold, try proofing the dough in the oven with the light on for gentle warmth.
Preventing Burnt or Undercooked Crusts
Burnt or undercooked crusts can ruin an otherwise perfect pizza. Avoid these pitfalls:
- Burnt Crust: Reduce the oven temperature slightly or use parchment paper under the dough if baking on a stone. Watch closely during the last few minutes.
- Undercooked Crust: Preheat your baking surface thoroughly. If the toppings are cooking faster than the crust, par-bake the crust for 3-4 minutes before adding toppings.
Frequently Asked Questions (FAQs)
Can I freeze sourdough discard pizza dough?
Yes, sourdough discard pizza dough freezes exceptionally well! After preparing the dough, divide it into portions and shape them into balls. Wrap each portion tightly in plastic wrap or place it in a freezer-safe bag, ensuring there’s no air trapped inside. The dough can be frozen for up to 3 months. To use, thaw it in the refrigerator overnight and let it come to room temperature before shaping and baking.
How does sourdough discard affect the flavor of the pizza crust?
Sourdough discard introduces a tangy, complex flavor to the crust, setting it apart from standard pizza dough. The natural acids and fermentation byproducts in the discard enhance the dough’s taste, adding subtle sour notes without overwhelming the palate. The flavor can vary depending on whether you use fresh or aged discard—fresh offers a milder tang, while aged discard provides a deeper, more pronounced sourness.
Can I make sourdough discard pizza dough without added yeast?
Absolutely! The wild yeast in sourdough discard is sufficient to leaven the dough. However, the rising process will take longer than using added yeast. Allow the dough to ferment for 8-12 hours, or overnight, to achieve the desired rise and texture. A small pinch of commercial yeast can speed up the process without compromising flavor for bakers who are in a hurry or with less active discard.
What is the best way to store leftover pizza?
Store leftover pizza in an airtight container or wrap individual slices in aluminum foil to keep leftover pizza fresh. Refrigerate the pizza within 2 hours of baking to maintain its quality. For longer storage, freezing is an excellent option. Simply freeze slices on a parchment-lined tray before transferring them to a freezer-safe bag. This prevents sticking and keeps the crust crisp upon reheating.
How can I make the crust crispier?
A crispy crust depends on proper oven temperature and baking technique. Preheat your oven to its highest setting and bake on a preheated pizza stone or steel. For added crispiness:
- Brush the crust edges with olive oil before baking.
- Par-bake the dough for a few minutes before adding toppings.
- Avoid using too much sauce, which can make the crust soggy.
Is sourdough discard pizza dough healthier than regular pizza dough?
Sourdough discard pizza dough has several health advantages over conventional dough. The fermentation process reduces phytic acid, improving mineral absorption. It may also have a lower glycemic index, contributing to steadier blood sugar levels. Additionally, sourdough’s fermentation can make the dough easier to digest for some people. However, the healthiness of the pizza also depends on the choice of toppings and portion size.

