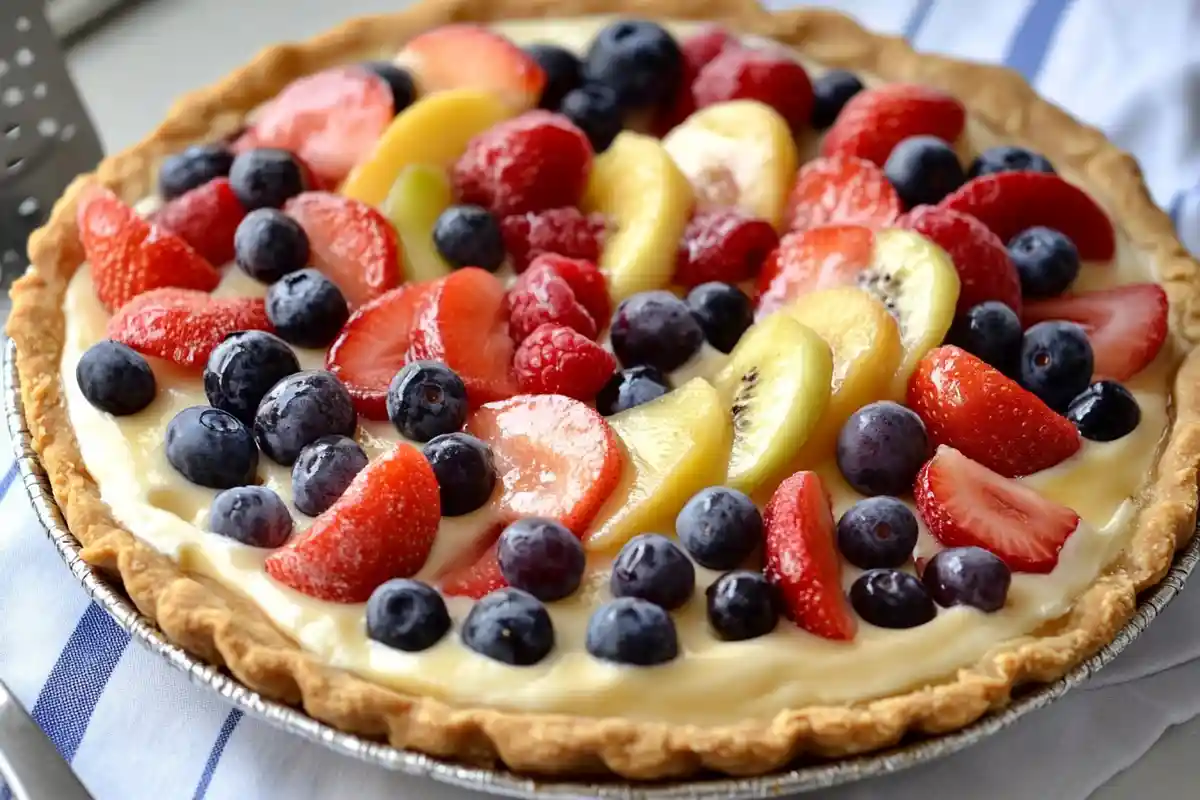
If you’re a fan of homemade baking and have dabbled in sourdough, you’ve likely encountered sourdough discard. But instead of tossing it away, have you ever considered using it to create a rich, flaky, and flavorful pie crust? That right! Sourdough discard pie crust isn’t just a clever way to minimize waste—it’s also an excellent way to add a subtle tang and complexity to your baked goods.
In this article, we’ll guide you step-by-step through the process of making the perfect sourdough discard pie crust. From understanding the benefits of sourdough discard to exploring essential tips and tricks, we’ve got you covered. So, grab your rolling pin, and let’s turn that leftover sourdough into something irresistibly delicious!
Table of Contents
Introduction to Sourdough Discard Pie Crust
What is Sourdough Discard?
Sourdough discard refers to the portion of the sourdough starter that is removed during the feeding process. It might seem like a waste, but this leftover starter is packed with flavor and can be repurposed in numerous recipes, including pancakes, waffles, and, of course, pie crusts! Instead of discarding it, bakers use it to enhance the texture and taste of their creations.
This leftover mixture often contains a mild tanginess, which can add depth and character to your pie crust. Not only does it reduce waste, but it also introduces a delightful twist to traditional crust recipes.
Benefits of Using Sourdough Discard in Pie Crusts
Why should you use sourdough discard in your pie crust? The benefits go beyond just avoiding waste:
- Enhanced Flavor: The slight tanginess of sourdough discard brings a unique, rich flavor to your crust.
- Improved Texture: The natural fermentation helps create a flakier and more tender crust.
- Waste Reduction: Using discard means you’re making the most of your ingredients.
- Digestibility: Fermented doughs are often easier to digest due to pre-broken-down gluten.
Put, incorporating sourdough discard isn’t just practical—it’s delicious and sustainable!
Overview of the Sourdough Discard Pie Crust Recipe
At its core, a sourdough discard pie crust follows the basic principles of traditional crust recipes. You’ll need your discard, flour, butter, a pinch of salt, and water. The magic happens when these ingredients come together, creating a crust that’s both tender and crispy.
Here’s a quick breakdown:
- Mix the dough: Combine sourdough discard with flour and butter.
- Chill it: Rest the dough to firm up the butter and relax the gluten.
- Roll it out: Shape it into your desired pie base.
- Bake it: Blind bake or fill and bake as per your recipe.
Ingredients and Equipment Needed
A perfect sourdough discard pie crust starts with the right ingredients and tools. While the recipe itself is simple, using high-quality components and essential baking equipment ensures a buttery, flaky crust every time. Let’s break down what you’ll need before getting your hands dusty with flour.
Essential Ingredients for Sourdough Discard Pie Crust
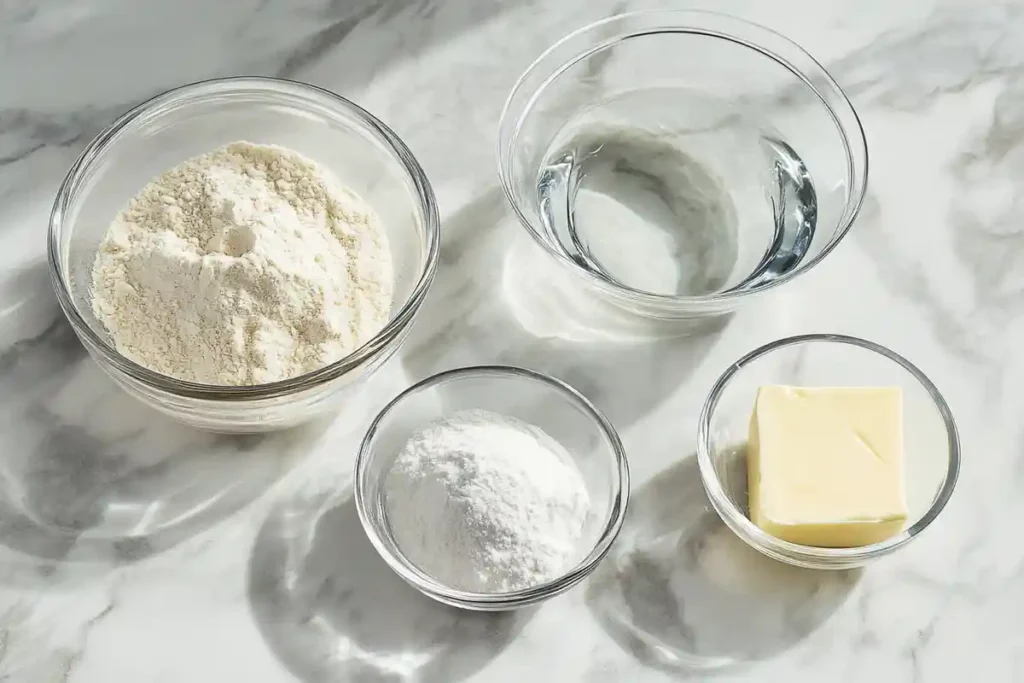
Each ingredient in a sourdough discard pie crust plays a crucial role in achieving that buttery texture and rich flavor. Here’s a detailed list:
- Sourdough Discard
- The star of the show! It adds tangy flavor and helps improve the crust’s texture.
- Tip: Use discard at room temperature for better integration with other ingredients.
- All-Purpose Flour
- The foundation of your pie crust.
- Opt for unbleached all-purpose flour for a more natural flavor.
- Cold Unsalted Butter
- Butter creates flaky layers.
- Tip: Cut butter into small cubes and keep it cold until mixing—it helps form pockets of steam during baking.
- Salt
- Enhances overall flavor.
- Use acceptable sea salt for even distribution.
- Ice Water
- Helps bind the dough together without activating too much gluten.
- Always use ice-cold water to maintain the dough’s temperature.
- Optional Additions:
- A teaspoon of sugar for sweet pies.
- Vinegar or lemon juice can improve tenderness.
Each ingredient serves a purpose, and skipping or substituting any one of them can change the final result. So, gather everything before starting to ensure a seamless baking experience!
Recommended Equipment for Pie Crust Preparation
Craft the perfect sourdough discard pie crust, having the right tools can make the process significantly easier. Here what you’ll need:
- Mixing Bowl: A large bowl for combining ingredients without spilling.
- Pastry Cutter or Food Processor: For cutting butter into the flour efficiently.
- Rolling Pin: To evenly roll out your dough.
- Bench Scraper: Helps handle and transfer dough without tearing.
- Parchment Paper: Prevents sticking and aids in blind baking.
- Pie Pan: Choose a sturdy pan for even baking. Glass or metal works well.
- Measuring Cups and Spoons: For precise measurements.
- Plastic Wrap or Beeswax Wrap: For chilling the dough before rolling.
- Pastry Brush: Useful for brushing egg wash or milk over the crust for a golden finish.
Pro Tip: Chill your tools—especially your mixing bowl and rolling pin—before starting. Cold tools help maintain the dough’s temperature, preventing the butter from melting prematurely.
Ingredient and Equipment Preparation Tips
- Chill Everything: From butter to mixing bowls, keeping everything cold prevents the dough from becoming greasy.
- Measure Accurately: Baking is science. Follow exact measurements for consistent results.
- Use a Scale: If possible, measure ingredients by weight instead of volume for precision.
Having everything prepped beforehand ensures a smooth workflow. When you’re well-prepared, baking can be a fun and stress-free experience!
Step-by-Step Guide to Making Sourdough Discard Pie Crust
Creating the perfect sourdough discard pie crust might sound intimidating, but with the proper technique and a little patience, you’ll be rolling out flaky, golden crusts like a pro. Let’s break it down step-by-step to ensure every detail is covered.
Preparing the Sourdough Discard
Before diving into mixing, you need to prepare your sourdough discard.
- Use Fresh or Stored Discard: Fresh discard (from an active starter) offers more tang, while older discard may give a milder flavor.
- Room Temperature: Allow your sourdough discard to come to room temperature before mixing. Cold discard won’t blend as smoothly with the other ingredients.
- Consistency Check: Ensure the discard isn’t overly liquid or too thick—it should resemble pancake batter.
Pro Tip: If your discard has been in the fridge for a while, give it a quick stir to reincorporate any separation before using it.
Mixing and Combining Ingredients
Now it’s time to bring everything together.
- Combine Dry Ingredients: In a large mixing bowl, whisk together flour and salt.
- Cut in the Butter: Add cold, cubed butter to the flour. Use a pastry cutter or your fingertips to work the butter into the flour until the mixture resembles coarse crumbs.
- Add the Sourdough Discard: Pour the sourdough discard into the flour-butter mixture. Stir gently with a fork to combine.
- Add Ice Water (if needed): Gradually add ice water, one tablespoon at a time, until the dough comes together.
- Form the Dough: Gently gather the dough into a ball. Do not overwork it, as this can make the crust tough.
Key Tip: The dough should hold together but not feel overly wet or sticky.
Chilling and Rolling Out the Dough
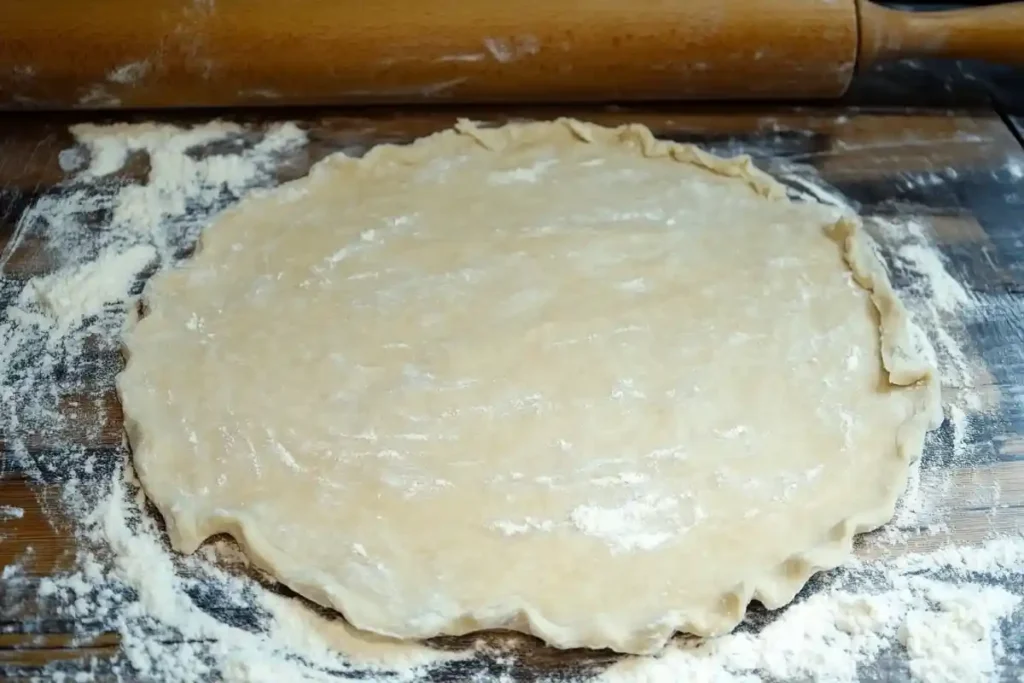
Chilling is an essential step that allows the dough to rest and the butter to firm up again.
- Wrap the Dough: Flatten the dough ball into a disc, wrap it tightly in plastic wrap, and refrigerate for at least 30 minutes (or up to 24 hours).
- Prepare Your Surface: Lightly flour a clean surface and your rolling pin.
- Roll the Dough: Place the chilled dough on the floured surface and roll it out gently, starting from the center and moving outward. Rotate the dough frequently to prevent sticking.
- Achieve the Right Thickness: Roll the dough until it’s about 1/8 inch thick.
Pro Tip: If the dough starts to crack or become too soft, pop it back in the fridge for 10 minutes before continuing.
Blind Baking the Pie Crust
Blind baking is essential for pies with wet fillings or those requiring pre-baked crusts.
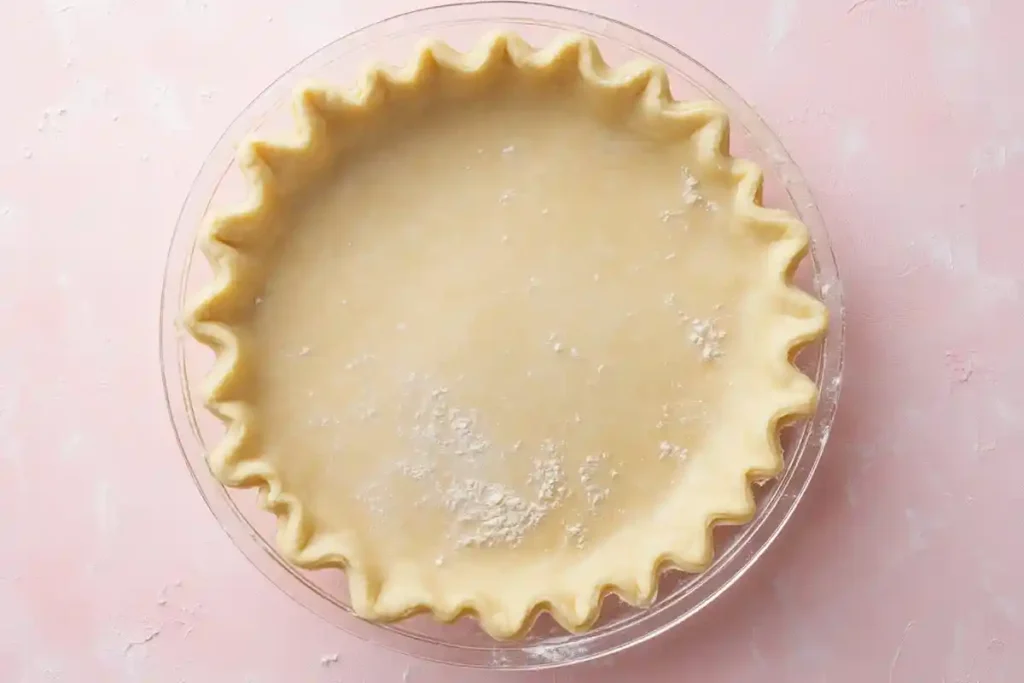
- Fit the Dough into the Pan: Carefully transfer the rolled-out dough to your pie pan. Gently press it into the corners without stretching.
- Trim Excess Dough: Leave about 1/2 inch overhang and fold it under for a neat edge.
- Dock the Dough: Use a fork to poke holes across the bottom of the crust to prevent air bubbles.
- Add Weights: Place parchment paper over the crust and fill it with pie weights or dried beans.
- Bake: Bake in a preheated oven at 375°F (190°C) for 15 minutes. Remove the weights and parchment, then bake for an additional 5–7 minutes until lightly golden.
Key Tip: Docking the dough ensures steam escapes during baking, preventing unwanted puffing.
Filling and Baking Your Pie (Optional Step)
If you’re making a filled pie:
- Add your chosen filling to the pre-baked crust.
- Follow your specific pie recipe for baking times and temperatures.
Whether you’re crafting a sweet apple pie or a savory quiche, your sourdough discard pie crust is now ready to shine!
Tips and Tricks for a Perfect Sourdough Discard Pie Crust
Creating a sourdough discard pie crust is both an art and a science. While the basic steps are straightforward, minor tweaks and expert tricks can take your crust from good to extraordinary. In this section, we’ll uncover the secrets to achieving the perfect flaky texture, avoiding common pitfalls, and making the most of your crust every time.
Achieving the Desired Texture and Flavor
When it comes to pie crust, texture and flavor are everything. Here are a few essential tips:
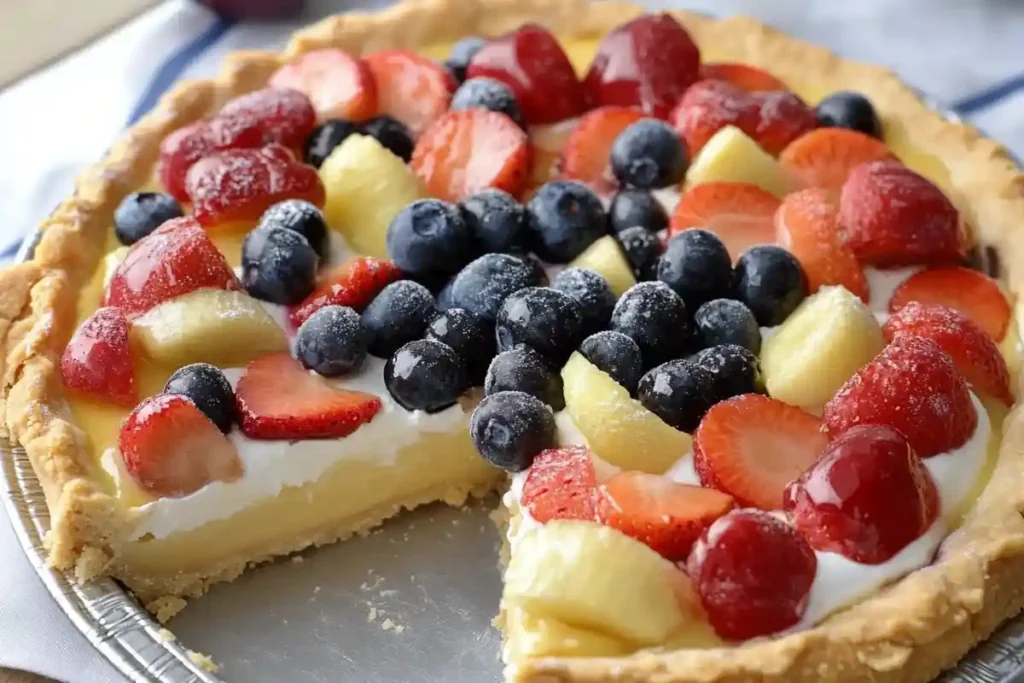
- Keep Everything Cold: This is the golden rule of pie crusts! Cold butter, cold discard, and even a chilled mixing bowl can make all the difference. Warm ingredients can lead to a greasy, dense crust instead of a light and flaky one.
- Don’t Overwork the Dough: Handle the dough gently and mix only until it comes together. Overworking activates too much gluten, resulting in a tough crust.
- Rest the Dough: Allowing the dough to chill in the refrigerator not only firms up the butter but also relaxes the gluten, leading to a tender crust.
- Add a Flavor Boost: A pinch of sugar for sweet pies or a sprinkle of herbs for savory pies can enhance the overall flavor.
- Use Vinegar or Lemon Juice: A teaspoon of vinegar or lemon juice can make the dough more tender by inhibiting gluten development.
Pro Tip: If your crust feels too sticky, sprinkle a little flour during rolling—but don’t overdo it, as too much flour can make it dry.
Common Mistakes to Avoid
Even experienced bakers can encounter hiccups when making sourdough discard pie crust. Here are some common mistakes and how to sidestep them:
- Skipping the Chill Time: Rushing the chilling step can result in a crust that shrinks during baking.
- Using Warm Butter: Warm butter blends too smoothly into the flour, eliminating the flaky layers you want.
- Adding Too Much Water: Excess water makes the dough sticky and difficult to roll out. Add water gradually and only as needed.
- Overbaking or Underbaking: Oversee your crust during baking. Underbaking can leave it soggy, while overbaking can make it challenging.
- Not Docking the Crust: Failing to dock the crust can result in significant air pockets forming during baking.
Pro Tip: If your pie crust starts browning too quickly, cover the edges with aluminum foil or a silicone pie shield.
Storage and Make-Ahead Options
A well-planned baking schedule can save you time and stress. Here’s how to store and prep your sourdough discard pie crust ahead of time:
- Refrigerate the Dough: The dough can be stored in the fridge for up to 2 days, wrapped tightly in plastic wrap.
- Freeze for Later: Pie dough freezes beautifully! Wrap it well, place it in a zip-top freezer bag, and store it for up to 3 months. Thaw overnight in the refrigerator before rolling it out.
- Pre-Baked Crust: If you’re blind-baking your crust, store the baked shell in an airtight container at room temperature for up to 2 days.
- Use Parchment Layers for Pre-Rolled Dough: If you’ve already rolled out your dough, stack parchment paper between layers before freezing.
Pro Tip: Label your dough with the date and type of crust to keep track of freshness.
Bonus Tip: Flavor Variations for Your Crust
Want to get creative? Try these ideas:
- Sweet Crust: Add a teaspoon of vanilla extract or a sprinkle of cinnamon.
- Savory Crust: Mix in dried herbs like thyme or rosemary.
- Nutty Crust: Swap out a portion of the flour for almond or hazelnut flour for added richness.
Experimenting with flavors can elevate your pies to the next level, whether they’re sweet or savory. You can try this delicious Italian Easter Pie if you are more into savory pie.
Frequently Asked Questions (FAQs)
When it comes to sourdough discard pie crust, bakers often have a few burning questions. In this section, we’ll address the most common queries to ensure your baking journey is smooth and your pie crust turns out perfectly flaky every time.
Why Use Sourdough Discard in Baking?
Sourdough discard isn’t just a byproduct of sourdough starter maintenance—it’s a versatile ingredient packed with flavor. Here’s why bakers love using it:
- Flavor Boost: The natural fermentation in the discard adds a unique tanginess to baked goods.
- Improved Texture: It enhances moisture retention and creates tender, flaky layers in pie crusts.
- Waste Reduction: Instead of throwing away your discard, repurpose it into something delicious.
- Digestibility: Fermentation breaks down gluten, making baked goods easier to digest.
How to Get a Crispy Crust on Sourdough?
A crispy crust is the dream, and here’s how to achieve it:
- Keep Ingredients Cold: Cold butter creates pockets of steam during baking, resulting in a flaky, crispy crust.
- Pre-Bake (Blind Bake): Partially baking the crust before adding filling helps prevent sogginess.
- Use Egg Wash: Brushing the crust with an egg wash before baking creates a golden, crispy finish.
- Bake at High Heat Initially: Start baking at a higher temperature (around 400°F/200°C) to set the crust before lowering the heat.
Why Do Bakers Dock the Bottom of Pie Crust?
Docking is the process of poking holes in the bottom of the crust with a fork before baking. But why is this step essential?
- Prevents Puffing: The holes allow steam to escape, preventing large air bubbles from forming.
- Even Baking: It ensures the crust bakes evenly across the pan.
- Improves Texture: A docked crust maintains its shape and stays crisp.
What Can I Do with Old Sourdough Discard?
If you have leftover sourdough discard and no plans for pie crust, don’t worry—it’s an incredibly versatile ingredient. Here are some creative uses:
- Pancakes and Waffles: Add discard to your batter for fluffy, tangy results.
- Crackers: Thin out the discard, season it, and bake for crispy homemade crackers.
- Muffins or Quick Bread: Mix discard into muffin or bread batter for added moisture and tang.
- Biscuits: Flaky sourdough biscuits are an easy win.
- Pizza Dough: Discard can add complexity to homemade pizza crust.

