Introduction and Health Benefits
Pumpkin sourdough bread combines the natural sweetness of pumpkin with the tangy complexity of sourdough that station. This bread isn’t just for your taste buds; it’s also packed with nutrients and is a wonderful way to use seasonal produce.
Making it home gives you full control over the ingredients, ensuring a healthier loaf than store-bought bread. Plus, we’ll knead and ferment dough, which is incredibly satisfying. Whether you’re a seasoned baker or just starting, pumpkin sourdough bread is a rewarding recipe.
Table of Contents
Health Benefits of Pumpkin Sourdough Bread
Nutritional Profile of Pumpkin
Pumpkin is a powerhouse of nutrients. It’s rich in vitamins like A and C, which boost immunity and support skin health. Its high fiber content aids digestion, while its potassium helps maintain healthy blood pressure. Not only that, but pumpkin is also low in calories, making it a guilt-free addition to any recipe.
Advantages of Sourdough Fermentation
Sourdough fermentation enhances bread’s nutritional profile and digestibility. The natural fermentation process breaks down gluten, making the bread easier to digest—an especially welcome benefit for people with mild gluten sensitivities. The method also increases the bioavailability of nutrients like iron, magnesium, and zinc. Additionally, sourdough bread tends to have a lower glycemic index, helping to maintain steady blood sugar levels.
And let’s not forget: the combination of pumpkin’s nutrient-rich goodness with sourdough’s gut-friendly properties creates a wholesome and delicious loaf.
Ingredients and Preparation
Essential Ingredients for Pumpkin Sourdough Bread

Creating pumpkin sourdough bread starts with selecting the right ingredients. Each component ensures the bread is flavorful, nutritious, and perfectly textured. Let’s look at the essentials you’ll need.
Selecting the Right Flour
The foundation of any good bread is the flour, and pumpkin sourdough bread is no exception. Opt for high-quality bread flour for a chewy texture and strong gluten development. For added flavor and nutrition, mix in whole wheat or spelled flour. Rye flour can also be incorporated in small amounts if you’re aiming for a slightly nutty taste. Remember, using fresh, unbleached flour significantly affects the final result.
Choosing Between Canned and Fresh Pumpkin Puree
Here’s a decision every baker faces: canned or fresh pumpkin puree? Both options work, but they each have their advantages.
- Canned pumpkin: Convenient, consistent in texture, and available year-round, it’s a great time-saver.
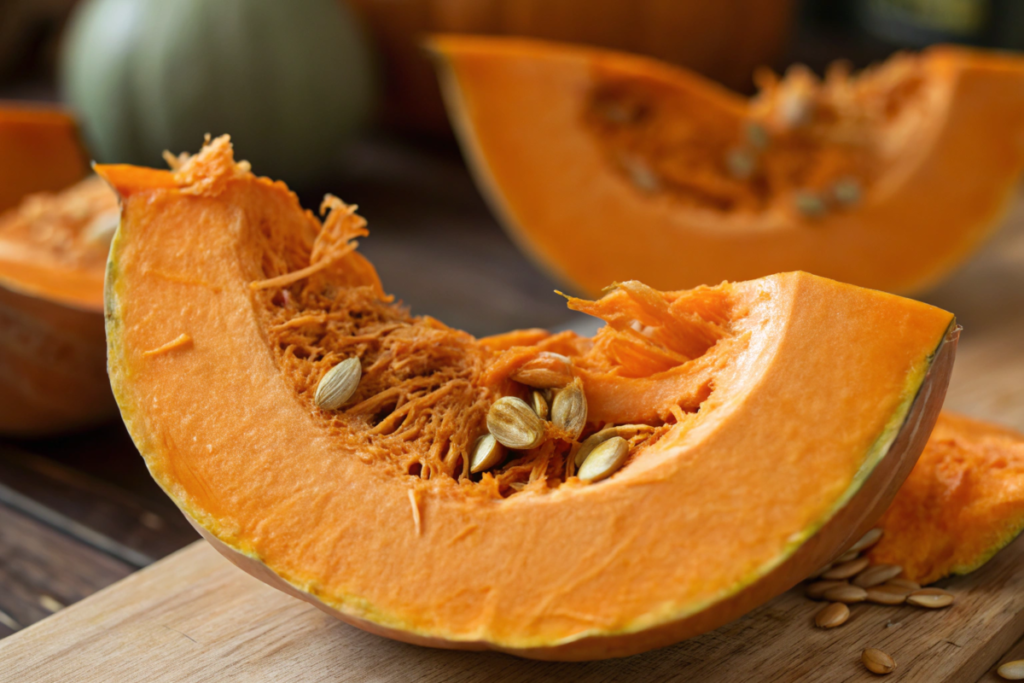
- Fresh pumpkin puree offers a fresher taste and the satisfaction of making everything from scratch. To prepare, roast a sugar pumpkin, scoop the flesh, and blend until smooth.
Pro tip: Avoid pumpkin pie filling, as it’s pre-sweetened and spiced, which could throw off your recipe.
Importance of an Active Sourdough Starter
The sourdough starter is the heart of the bread. It’s what gives sourdough its signature tang and airy texture. Ensure your starter is active and bubbly before baking. A healthy starter should double in size within 4-6 hours of feeding and have a slightly tangy aroma. Feed it with equal parts flour and water a day or two before baking to ensure peak activity. If your starter has been in the fridge, refresh it to wake it up.
Preparing the Sourdough Starter
Feeding and Maintaining Your Starter
Keeping your starter healthy is key to a successful loaf. Regular feeding ensures it stays strong enough to leaven the dough. Use unbleached flour and filtered water for the best results, as chemicals in tap water can weaken the natural yeast.
- Ratio tip: Feed your starter in a 1:1:1 ratio (starter: flour: water) by weight for predictable activity.
- Storage: If you bake frequently, keep it at room temperature and feed it daily. For occasional bakers, store the starter in the fridge and feed it weekly.
Ensuring Starter Readiness for Baking
Before using the starter:
- Perform a float test.
- Drop a small starter into the water; it’s ready to use if it floats.
- If it sinks, give it more time to ferment or feed it again.
An active starter will leaven the dough and contribute complex flavors, complementing the pumpkin’s natural sweetness.
Step-by-Step Baking Process
Crafting pumpkin sourdough bread is a rewarding experience that requires patience and attention to detail. From mixing to baking, each step is designed to bring out the best in your ingredients while achieving the ideal flavor and texture. Let’s explore the process.
Mixing the Dough for Pumpkin Sourdough Bread
Combining Ingredients
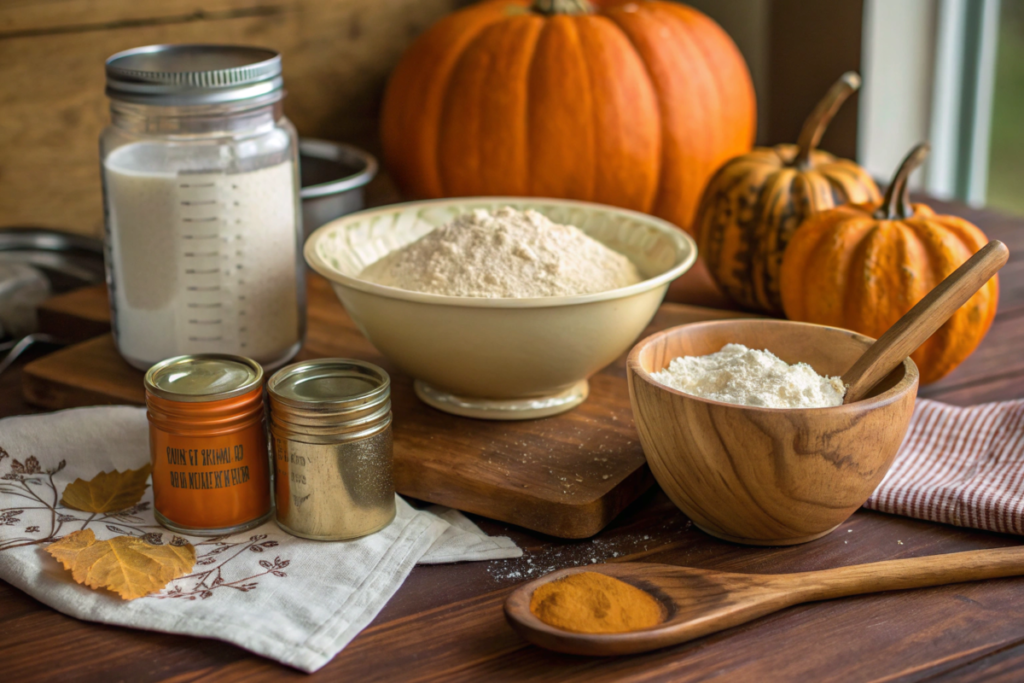
Start by combining the key ingredients: flour, pumpkin puree, sourdough starter, water, and salt. Mix by hand or use a stand mixer with a dough hook to achieve the perfect consistency. Begin with:
- 300g bread flour
- 50g whole wheat flour
- 100g active sourdough starter
- 150g pumpkin puree
- 200g water (adjust for hydration)
- 10g salt
Mix until the dough begins to come together. The pumpkin puree will naturally increase hydration, so the dough might initially feel sticky. That’s normal! Let it rest for 20–30 minutes to allow the flour to absorb the moisture—a step known as autolyze.
Autolyse and Initial Rest Period
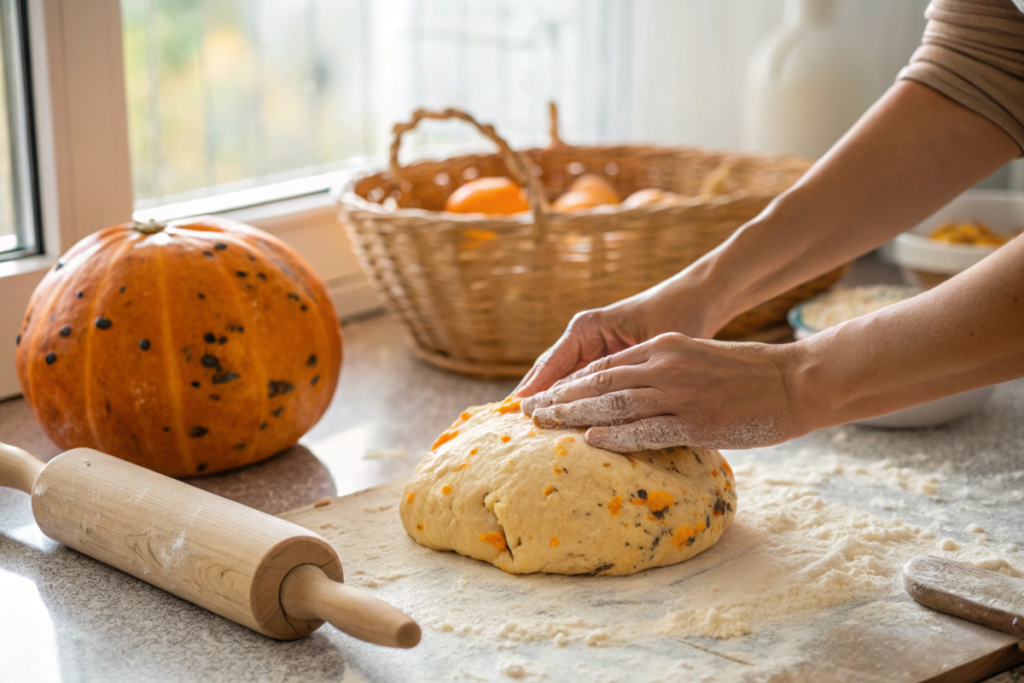
The autolyze process is a game-changer for pumpkin sourdough bread. During this rest, gluten develops, making the dough easier to work with. After autolyzing, mix the salt thoroughly to ensure it’s evenly distributed. A sticky dough will become a cohesive ball with a smooth texture as you knead, stretch, and fold.
Bulk Fermentation and Folding Techniques
Performing Stretch and Folds
Bulk fermentation is a crucial step in the development of both the dough’s structure and flavor. Over 4-5 hours at room temperature, you’ll periodically stretch and fold the dough every 30–45 minutes. This technique, which you’ll soon master, plays a key role in strengthening the gluten network and redistributing the yeast, ensuring a consistent rise throughout the process.
Wet your hands slightly to prevent sticking during the stretch-and-fold process. First, grab one side of the dough, gently pull it upward, and fold it over itself. Then, rotate the bowl and repeat the motion on the remaining sides. Continue this sequence methodically, ensuring each stretch and fold is gentle yet effective.
As you approach the final fold, you’ll observe the transformation—by now, the dough should feel significantly more airy and elastic, indicating it’s ready for the next step. This is a testament to your growing confidence and skill in the stretch and fold technique.
Monitoring Fermentation Progress
During bulk fermentation, the dough should increase in volume by about 50%. Look for a slightly domed surface and a light, bubbly texture underneath. Fermentation time varies depending on the ambient temperature—warmer kitchens speed up the process, while cooler ones slow it down. Trust your senses and adjust accordingly.
Shaping and Proofing the Dough
Techniques for Shaping the Loaf

Once bulk fermentation is complete, it’s time to shape the dough. Turn it onto a lightly floured surface and pre-shape it round or oval. Let it rest for 15 minutes to relax. After resting, tighten the shape by pulling the edges inward and tucking them under to create surface tension.
Use a banneton or a well-floured towel-lined bowl for final proofing. This step helps the dough maintain its shape during the final rise.
Final Proofing Conditions
Cover the shaped dough and let it proof at room temperature for 1-2 hours or until it passes the “poke test.” Press the dough with your finger; if the indentation springs back slowly, it’s ready to bake. Alternatively, you can refrigerate it overnight for a cold ferment, which enhances the bread’s flavor and makes it easier to score before baking.
Baking the Perfect Pumpkin Sourdough Bread
Oven Preparation and Temperature Settings
Preheat your oven to 475°F (245°C) with a Dutch oven or baking stone inside. This ensures the baking surface is hot enough to create a good oven spring. Use a razor blade or lame to score the dough, which allows steam to escape and controls the loaf’s expansion.
Baking Time and Steam Introduction
Cover the dough in the preheated Dutch oven and bake for 20 minutes. Remove the lid and bake for 25–30 minutes for a golden-brown crust. The steam from the covered bake helps create a crisp exterior while keeping the interior soft and moist.
Enhancements and Variations
While the classic recipe for pumpkin sourdough bread is undeniably delicious, adding unique flavors or creating variations can take your loaf to the next level. Let’s explore ideas for enhancing your bread and discovering creative twists that suit different tastes.
Flavor Enhancements for Pumpkin Sourdough Bread
Incorporating Spices and Herbs
Spices can elevate the natural sweetness of pumpkin and add a cozy, seasonal touch to your bread. Consider mixing the following into your dough or sprinkling them on top before baking:
- Cinnamon: Adds warmth and pairs beautifully with pumpkin.
- Nutmeg: A small pinch enhances the earthy tones.
- Ginger: Provides a mild zing and balances the bread’s sweetness.
- Fresh rosemary or sage: These herbs lend a delightful aroma and flavor if you’re aiming for a savory loaf.
Start with small amounts and adjust to taste to avoid overpowering the bread. For example, 1/2 teaspoon of cinnamon and a dash of nutmeg can create subtle depth without being overwhelming.
Adding Nuts, Seeds, and Dried Fruits

For added texture and nutrition, incorporate mix-ins like chopped nuts, seeds, or dried fruits into the dough during the second stretch and fold. Popular options include:
- Pecans or walnuts: Their crunch complements the soft crumb of sourdough.
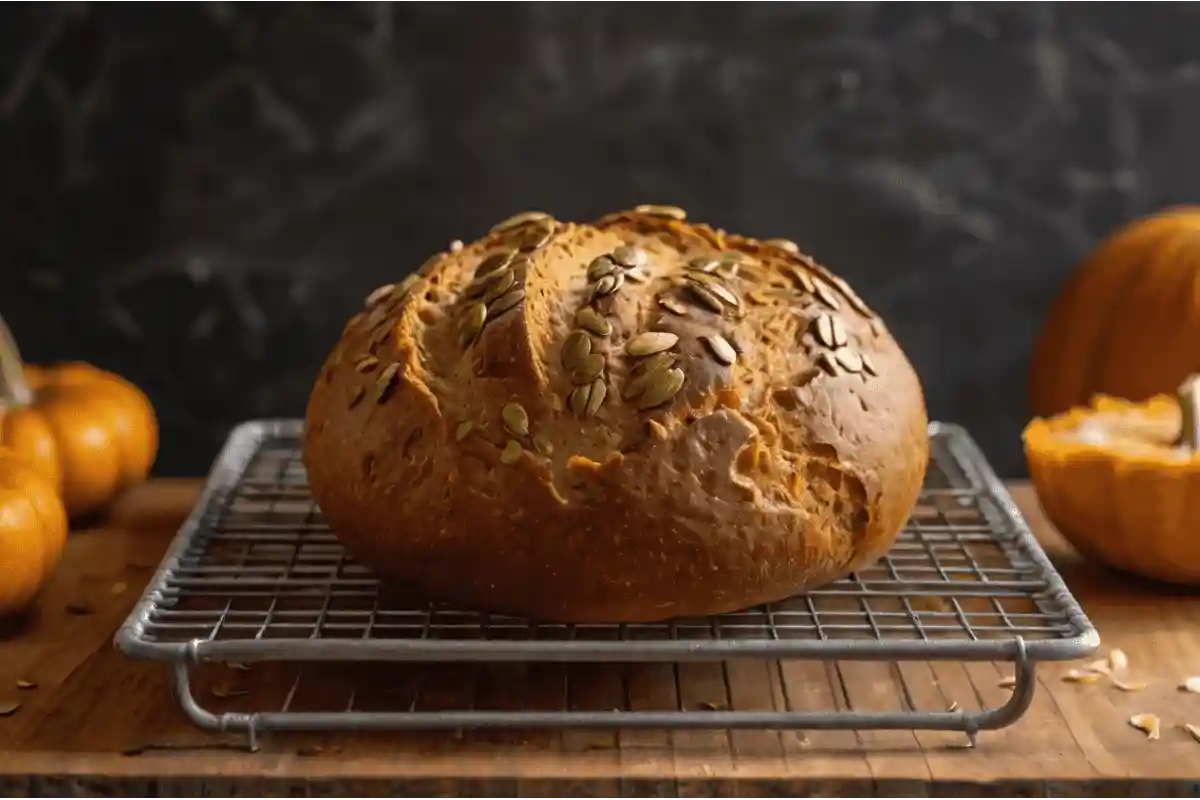
- Pumpkin seeds: Toasted seeds sprinkled on top or mixed in create a visual and flavorful nod to the main ingredient.
- Dried cranberries or raisins add a sweetness that contrasts the sourdough’s tang.
Toss your add-ins in some flour before folding them into the dough to ensure even distribution.
Creative Variations of Pumpkin Sourdough Bread
Pumpkin Sourdough Rolls
Try shaping the dough into rolls if you want easier bread to serve individually. These are perfect for dinner parties or as a grab-and-go snack.
- Divide the dough into equal portions, about 80–100g each.
- Shape them into rounds, proof them on a baking sheet, and bake them at a slightly lower temperature (around 425°F) for 20–25 minutes.
These rolls maintain the rich pumpkin flavor and soft texture but offer a more versatile format.
Pumpkin Sourdough with Whole Grains
For a heartier loaf, substitute part of the bread flour with whole grains like spelled rye or whole wheat. This variation brings a nuttier flavor and additional fiber to your bread. Whole grain flours absorb more water, so increase hydration slightly if the dough feels too stiff.
Pro Tip: Add a teaspoon of honey or maple syrup to highlight the nutty flavors and balance the loaf’s tangy and earthy notes.
Troubleshooting and FAQs
Even the most experienced bakers encounter challenges while making pumpkin sourdough bread. But don’t worry—these common issues have straightforward solutions. Here’s how to troubleshoot problems and ensure your bread bakes perfectly every time.
Common Issues and Solutions in Baking Pumpkin Sourdough Bread
Dealing with Dense or Gummy Texture
A dense or gummy loaf can be disappointing, but understanding the root cause can help you fix it.
- Underproofing: If the dough doesn’t rise enough during bulk fermentation or proofing, it can result in a dense crumb. Ensure your dough increases by at least 50% during bulk fermentation and passes the “poke test” before baking.
- Hydration imbalance: Pumpkin puree increases the dough’s moisture. If your dough feels too wet, reduce the water slightly or add more flour during mixing.
- Underbaking: If the bread feels gummy, it may need more time in the oven. Use a thermometer to check the internal temperature; it should reach 200–210°F.
Achieving Proper Oven Spring
Oven spring—the dramatic rise when the dough hits the heat—gives sourdough its signature airy structure. If your loaf lacks an oven spring, consider these factors:
- Scoring: Proper scoring allows the dough to expand during baking. Use a sharp blade and make confident cuts.
- Preheating: Ensure your oven and Dutch oven (or baking stone) are thoroughly preheated to 475°F. This initial burst of heat is crucial for oven spring.
- Proofing time: Overproofed dough can collapse instead of rising. Stick to the recommended proofing times and use refrigeration for cold fermentation to control the process.
Frequently Asked Questions (FAQs)
Can I Use Whole Wheat Flour Instead of All-Purpose Flour?
Yes, whole wheat flour is a great choice for pumpkin sourdough bread. It adds a hearty flavor and boosts its nutritional value. However, hydration must be adjusted to maintain a workable dough consistency because whole wheat absorbs more water.
How Do I Store Pumpkin Sourdough Bread to Maintain Freshness?
Store your bread in a breathable bag or wrap it in a clean kitchen towel to prevent it from becoming soggy. For longer storage, slice and freeze the loaf in an airtight container—toast slices straight from the freezer for convenience.
Is It Possible to Make This Bread Gluten-Free?
Gluten-free sourdough bread is possible but requires specific techniques and flours, such as rice or buckwheat. Pumpkin puree can be used in gluten-free recipes, but the structure and texture will differ. Experiment with gluten-free sourdough starters and recipes for the best results.
Can I Add Sweeteners to the Dough?
Absolutely! A tablespoon of honey, maple syrup, or brown sugar can enhance the bread’s natural sweetness without overpowering the tangy sourdough flavor.
What Are the Signs That the Bread Is Fully Baked?
A well-baked loaf will have a deep golden crust and sound hollow when tapped on the bottom. For accuracy, use a thermometer to ensure the internal temperature is 200–210°F.
Serving and Storage
You’ve mastered the art of baking pumpkin sourdough bread—now it’s time to enjoy it! Whether served fresh out of the oven or stored for later use, this bread offers countless possibilities to delight your taste buds. Let’s explore creative serving suggestions and practical storage tips.
Serving Suggestions for Pumpkin Sourdough Bread
Pairing with Spreads and Dishes
The subtle sweetness and hearty texture of pumpkin sourdough bread make it a versatile base for various spreads and accompaniments. Here are a few ideas to elevate your servings:
- Savory toppings: Smear a thick layer of garlic butter, cream cheese, or herbed ricotta on a warm slice.
- Sweet spreads: Pair with homemade pumpkin butter, honey, or a sprinkle of cinnamon sugar for a cozy treat.
- Soups and salads: Use thick slices as a companion to creamy soups like butternut squash or hearty stews. Its chewy crust is perfect for dipping.
For a gourmet touch, lightly toast the bread and top it with a splash of olive oil and a pinch of flaky sea salt. Simple and incredibly satisfying!
Using Pumpkin Sourdough in Recipes
Turn leftovers into culinary masterpieces with these recipe ideas:
- Sourdough stuffing: Dice the bread into cubes and use it in stuffing recipes for a holiday meal.
- French toast: Dip slices in a spiced egg mixture, fry them golden and enjoy with maple syrup.
- Paninis and sandwiches: Layer with roasted veggies, turkey, or cheese for a filling and flavorful meal.
- Bread pudding: Combine cubed bread with a sweet custard mix for a decadent dessert.
The unique pumpkin flavor ensures these dishes are anything but ordinary.
Proper Storage Techniques for Pumpkin Sourdough Bread
Short-Term Storage
To keep your bread fresh for a few days, follow these simple steps:
- Store the loaf at room temperature, wrapped in a clean, breathable kitchen towel. This prevents the crust from becoming soggy while keeping the interior moist.
- Avoid plastic bags, which can trap moisture and ruin the crust’s crispness.
For maximum freshness, consume within 2–3 days.
Freezing for Long-Term Preservation
If you want to extend the shelf life of your pumpkin sourdough bread, freezing is your best option:
- Slice the bread before freezing. It allows you to thaw only what you need.
- Wrap individual slices or the entire loaf in plastic wrap, then place it in an airtight container or freezer bag.
- When ready to enjoy, thaw slices at room temperature or toast them directly from frozen.
Frozen sourdough retains its flavor and texture remarkably well, making it convenient for enjoying your hard work anytime.

