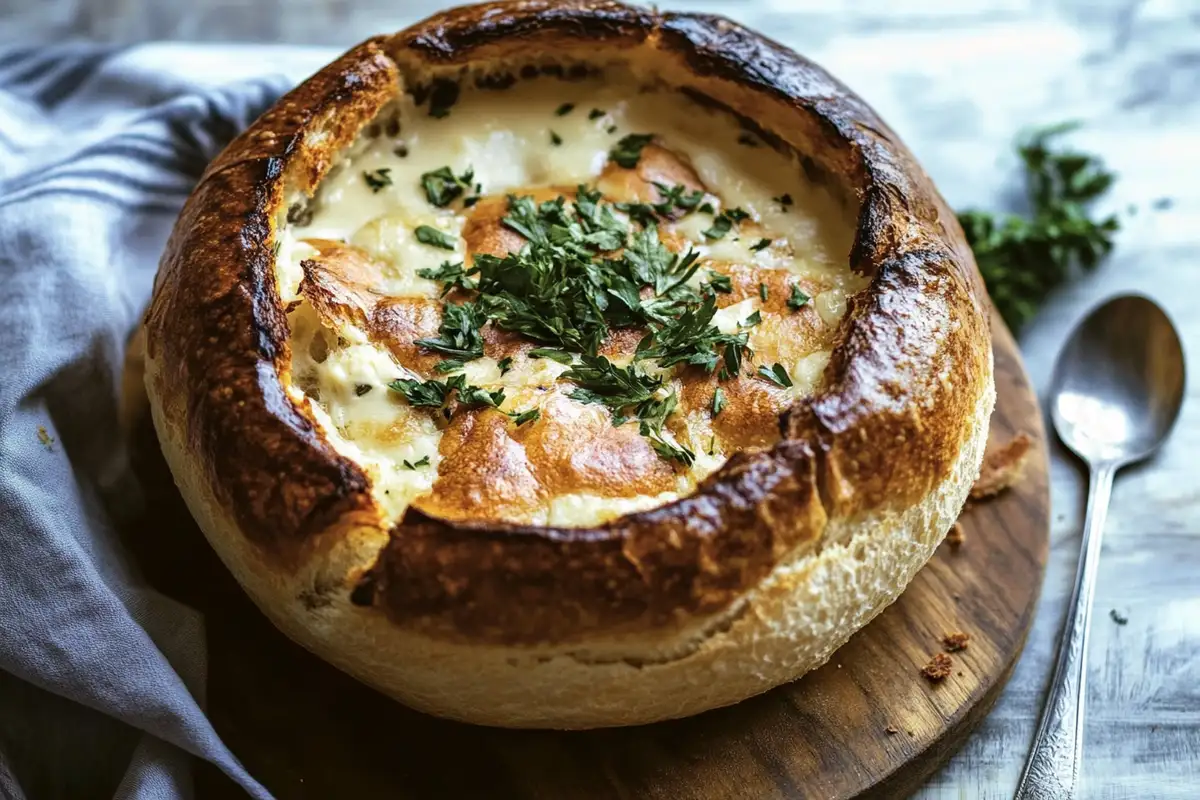
Imagine a warm, crusty loaf of bread doubling as a bowl for your favorite soup or dip. That’s the beauty of the sourdough bread bowl! With its tangy flavor, chewy interior, and hearty crust, this culinary marvel is both functional and flavorful. This guide explores everything from its history and health benefits to step-by-step instructions for making your own. Let’s dive into the fascinating world of sourdough bread bowls, starting with their origins.
Table of Contents
Introduction to Sourdough Bread Bowls
What is a Sourdough Bread Bowl?
A sourdough bread bowl is exactly what it sounds like: a hollowed-out loaf of sourdough bread that acts as an edible container for soups, stews, dips, and more. The beauty of sourdough lies in its sturdy crust, which resists sogginess, and its mild tang, which enhances savory dishes. This ingenious creation transforms any meal into an experience, combining flavor with functionality.
History and Origin of Sourdough Bread Bowls
The origins of sourdough bread stretch back thousands of years, making it one of humanity’s oldest forms of leavened bread. Archaeological findings suggest that sourdough was used as early as 3700 BCE in Switzerland. Ancient Egyptians also relied on wild yeast fermentation to bake sourdough loaves.
But where does the idea of a bread bowl come from? Medieval Europeans believed to have hollowed out bread to hold stews to save resources. By the 20th century, the sourdough bread bowl gained fame in San Francisco, a city celebrated for its rich sourdough tradition. It quickly became synonymous with clam chowder—an iconic pairing.
Understanding Sourdough
The Science Behind Sourdough Fermentation
At the heart of every sourdough bread bowl is the magic of fermentation. Unlike conventional bread, sourdough relies on a natural culture of wild yeast and lactic acid bacteria, which work together to leaven the dough and create its signature tangy flavor. This process begins when the microorganisms in a sourdough starter consume the sugars in flour, producing carbon dioxide for rise and acids for flavor.
The acids also play a crucial role in enhancing the bread’s structure and shelf life. Strengthening the gluten network makes the dough more elastic, resulting in a satisfying chewy texture. Moreover, the acids act as natural preservatives, extending the bread’s freshness while reducing the need for artificial additives. Fascinating, right?
Health Benefits of Sourdough Bread
Not only is sourdough bread delicious but it’s also packed with health benefits. The fermentation process breaks down phytic acid, a compound that can block nutrient absorption, allowing your body to absorb more minerals like iron, calcium, and magnesium. Additionally, the naturally occurring bacteria partially break down gluten, making sourdough easier to digest for people with mild gluten sensitivities.
Sourdough also has a lower glycemic index compared to regular bread. It releases glucose more slowly into the bloodstream, helping maintain stable energy levels. The absence of commercial yeast makes it a cleaner, more traditional bread option. If you’re looking for bread that’s tasty, nutritious, and easier on the gut, sourdough is a great choice.
Learn more about sourdough fermentation’s science and health benefits in this informative guide.
Making Sourdough Bread Bowls at Home
Ingredients Needed
Before diving into baking, let’s gather the essentials for making your sourdough bread bowl. You’ll need:
- Flour: Opt for unbleached all-purpose or bread flour for the best structure.
- Water: Filtered and at room temperature to keep your starter happy.
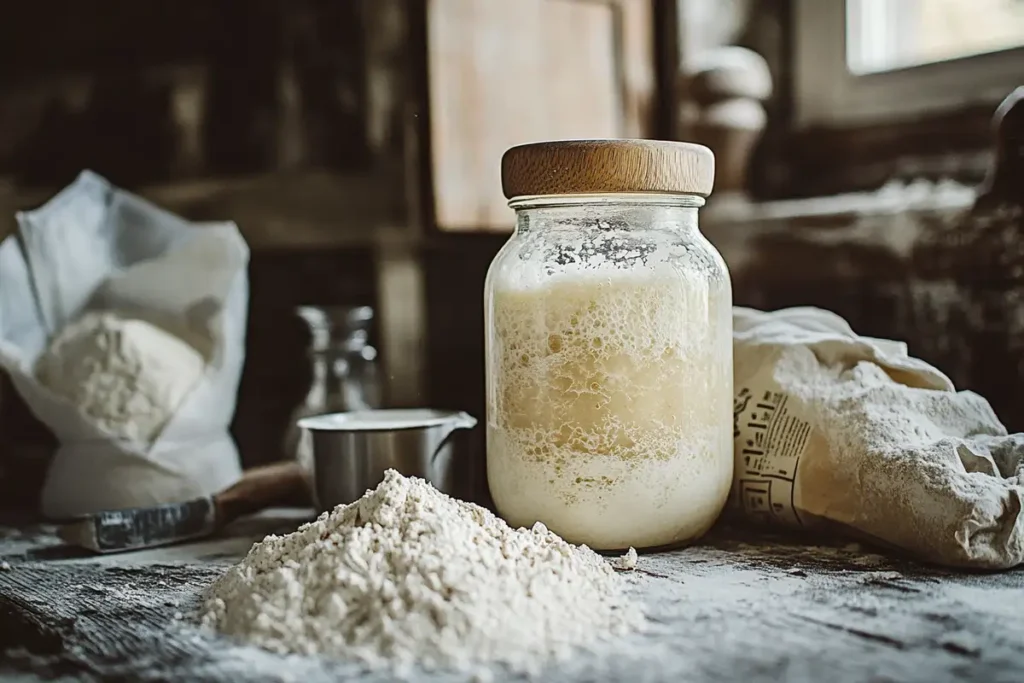
- Sourdough Starter: This is the life of your bread, so make sure it’s active and bubbly.
- Salt: Fine sea salt works best to balance the flavors.
- Optional Add-Ins: Herbs like rosemary or seeds like sesame can elevate your loaf.
Step-by-Step Recipe
- Prepare Your Starter
- Feed your sourdough starter 8–12 hours before you plan to bake. A healthy starter should double in size and have a bubbly surface.
- Mix the Dough
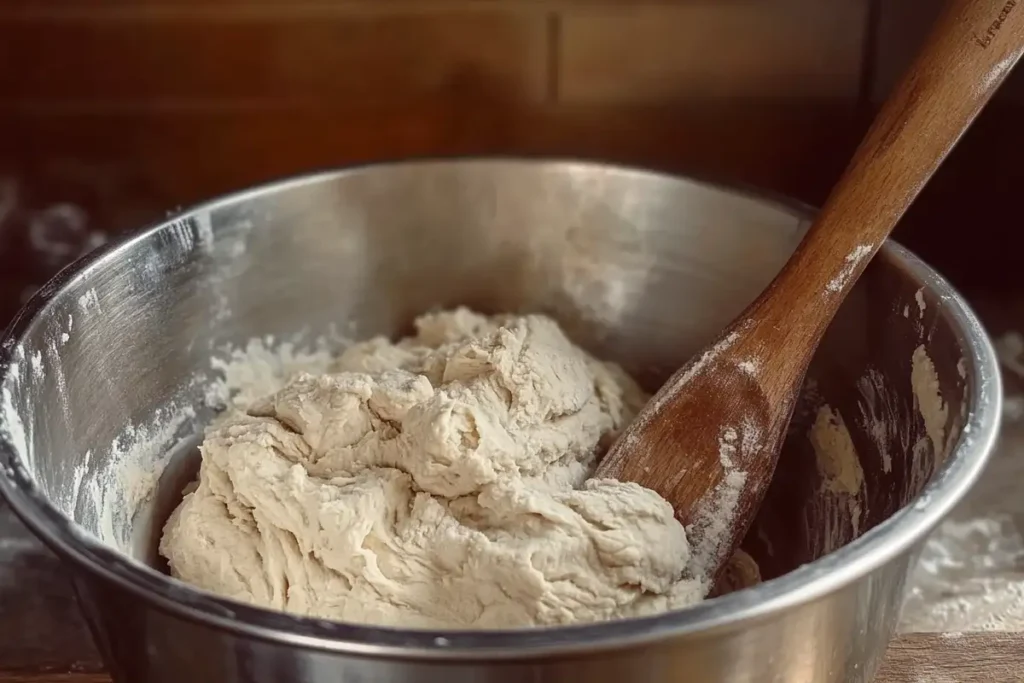
- In a large bowl, combine your flour, water, and starter. Stir until the ingredients form a shaggy dough, then let it rest for 30 minutes (autolyze).
- Add Salt
- Sprinkle salt over the dough and mix it in by hand. This enhances flavor and strengthens the gluten.
- Knead the Dough
- Knead on a floured surface until it becomes smooth and elastic. You can also use the stretch-and-fold method for a gentler approach.
- First Rise
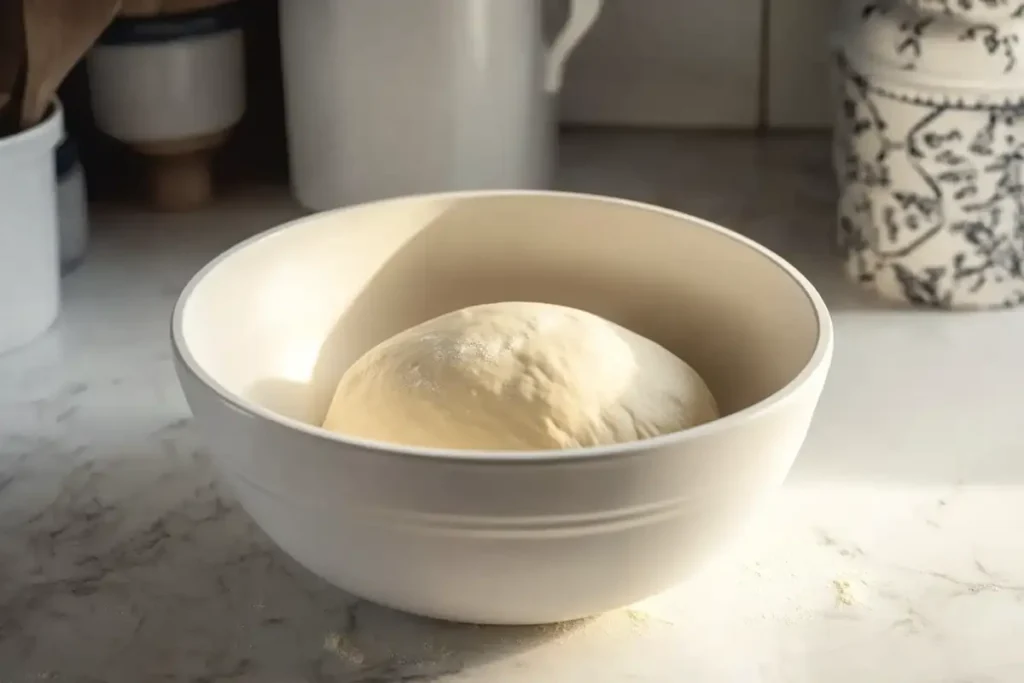
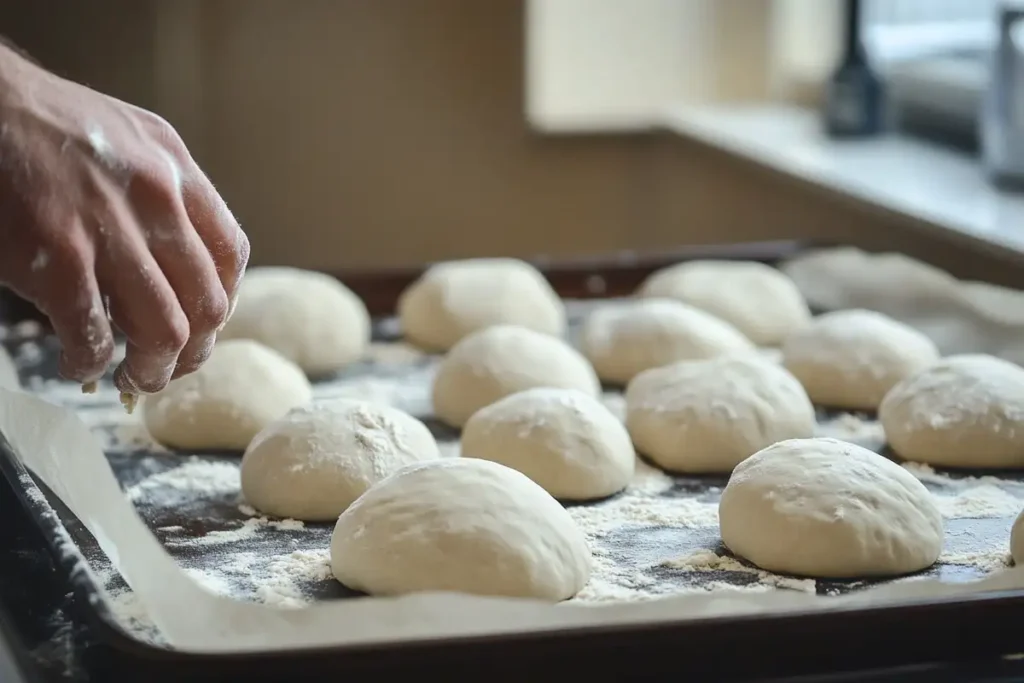
- Transfer the dough to a greased bowl, cover it with a damp towel, and let it rise at room temperature for 4–6 hours or until it doubles in size.
- Shape the Bread Bowls
- Divide the dough into smaller portions, shaping each into a tight round loaf. This step is crucial for creating sturdy bread bowls that won’t collapse under the weight of your soup or dip.
- Second Rise
- Allow the shaped dough to rise for another 1–2 hours until puffy but not overproofed.
- Preheat Your Oven
- Preheat the oven to 450°F (232°C), placing a baking stone or sheet inside to heat up. Adding steam to the oven will help create a crispy crust.
- Score and Bake
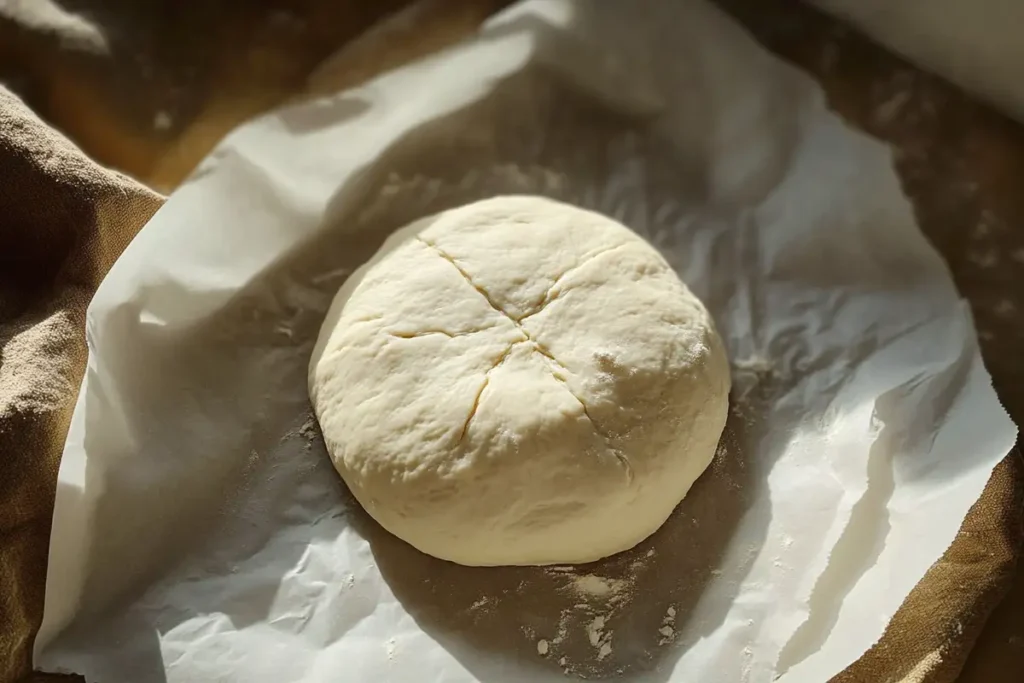
- Use a sharp knife to score the tops of the loaves. Bake for 20–30 minutes or until the crust is golden brown and sounds hollow when tapped.
- Cool and Hollow Out
- Let the loaves cool completely before slicing off the tops and scooping out the soft interior. Now, your edible bowls are ready to serve!
Tips for Perfect Sourdough Bread Bowls
- Keep Your Starter Happy: A lively starter is the key to great sourdough. Feed it regularly and store it properly.
- Hydration Matters: Adjust water content based on your flour type and kitchen humidity. Too much water can lead to sticky dough, while too little results in a dense loaf.
- Shape with Care: Tightly shaped loaves maintain their structure during baking.
- Steam for Success: Adding steam during the first few minutes of baking ensures a crisp crust.
Serving Suggestions
Best Soups and Fillings for Sourdough Bread Bowls
A sourdough bread bowl is only as good as what you put inside it! Some filling ideas pair wonderfully with the tangy, chewy bread.

- Clam Chowder
- The ultimate classic pairing! Creamy clam chowder complements the sourdough’s tangy notes perfectly. Plus, the sturdy crust prevents leaks, making it an excellent vessel for this hearty soup.
- Broccoli Cheddar Soup
- Rich and cheesy, broccoli cheddar soup is another crowd favorite. Its velvety texture pairs beautifully with the crisp, flavorful crust of the bread bowl.
- Beef Stew
- For a robust and filling meal, serve a thick beef stew in a sourdough bread bowl. The bread soaks up the savory gravy, offering a satisfying bite with every spoonful.
- Spinach and Artichoke Dip
- Bread bowls aren’t just for soups! This creamy, cheesy dip works wonderfully as a party appetizer. Tear off pieces of the bowl for dipping as you go.
- Chili
- The bold, spicy chili flavors provide a delightful contrast to the sourdough’s mellow tanginess. Top with shredded cheese and sour cream for added decadence.
Creative Variations and Add-Ins
If you want to add some flair to your bread bowls, try these creative twists:
- Herbed Dough
- Incorporate fresh or dried herbs like rosemary, thyme, or oregano into the dough for a fragrant and flavorful bread bowl.
- Cheese-Infused Loaves
- Add grated cheddar, parmesan, or asiago directly to the dough. The cheese melts during baking, creating a savory, golden crust.
- Seed Toppings
- Sprinkle sesame, poppy, or sunflower seeds over the loaves before baking to add crunch and visual appeal.
- Flavored Crumbs
- Use the scooped-out interior to create breadcrumbs flavored with garlic, parsley, and parmesan. These crumbs can be a garnish for soups or dips served in your bread bowls!
Storing and Reusing Sourdough Bread Bowls
How to Store Leftover Bread Bowls
Sometimes, you don’t finish all your bread bowls in one go, and that’s perfectly fine. Proper storage ensures your bread stays fresh for longer.
- Short-Term Storage
- Keep leftover bread bowls in an airtight container or tightly sealed plastic bag. Store them at room temperature for up to 2 days. To maintain crusty exteriors, avoid refrigeration unless necessary.
- Freezing Bread Bowls
- For longer storage, freeze bread bowls. Wrap each loaf tightly in plastic wrap and place it in a freezer bag. They can last up to 3 months this way. To reheat, let them thaw at room temperature and then pop them into a 350°F (175°C) oven for 10 minutes to refresh the crust.
Repurposing Stale Bread Bowls
Even if your sourdough bread bowls have gone stale, there are plenty of ways to breathe new life into them:
- Breadcrumbs
- Grind the stale bread into fine crumbs and toast them in recipes like casseroles, breaded chicken, or as a crunchy topping for soups.
- Croutons
- Cube the stale bread, toss with olive oil, garlic, and herbs, and bake until crispy. These make excellent salad toppers or soup companions.
- Stuffing
- Transform your stale bread into a flavorful stuffing for roasted meats or vegetables.
- Bread Pudding
- Sweet or savory bread puddings are an excellent way to utilize leftover sourdough. Just soak the bread in a custard or savory mixture before baking.
FAQs About Sourdough Bread Bowls
What soups pair best with sourdough bread bowls?
Sourdough bread bowls are incredibly versatile and can hold a variety of soups. Creamy soups like clam chowder or broccoli cheddar are excellent choices because they complement the tangy flavor of the bread and benefit from the sturdy crust. Heartier soups like beef stew and chili are also popular as they allow the bread to soak up the rich flavors.
Can sourdough bread bowls be made gluten-free?
Yes, gluten-free sourdough bread bowls are possible with the right recipe. Gluten-free flours like rice, almond, or buckwheat flour can be used, but you’ll also need a gluten-free sourdough starter. Remember that gluten-free dough may have a different texture and require additional support, such as baking in molds.
How long does it take to make a sourdough bread bowl?
From start to finish, making sourdough bread bowls typically takes 12–24 hours. It includes time for preparing the starter, fermenting the dough, and allowing for two rises. While the process requires patience, it usually involves waiting, making it a great weekend project.
What’s the best way to keep bread bowls from getting soggy?
Ensure your soup or filling is thick rather than watery to prevent sogginess. You can also brush the interior of the bread bowl with melted butter or olive oil and toast it lightly in the oven before filling. It creates a protective layer that helps keep the bread from absorbing too much liquid.
Can I make mini sourdough bread bowls?
Absolutely! Mini bread bowls are a fun and practical option for individual servings or appetizers. Divide your dough into smaller portions before the final rise and bake. They’re perfect for serving dips or small portions of soup at gatherings.
How is my sourdough starter ready?
Your starter is ready when it has doubled in size after feeding, has a bubbly surface, and smells pleasantly tangy. A quick test is to drop a small amount of the starter into water; if it floats, it’s active and ready to use.

